Facebook is the world's most popular social networking site. Users can create profiles, connect with friends, and share photos and videos. ezto auth provides a fast and convenient way for users to log into your app with Facebook.
Make sure to create a Facebook Developer account before you begin.
1 Go to Dashboard > Authentication > Social.
2 Click on + CREATE CONNECTION.
3 You will be redirected to the social connection providers page, where you can view all the available providers.
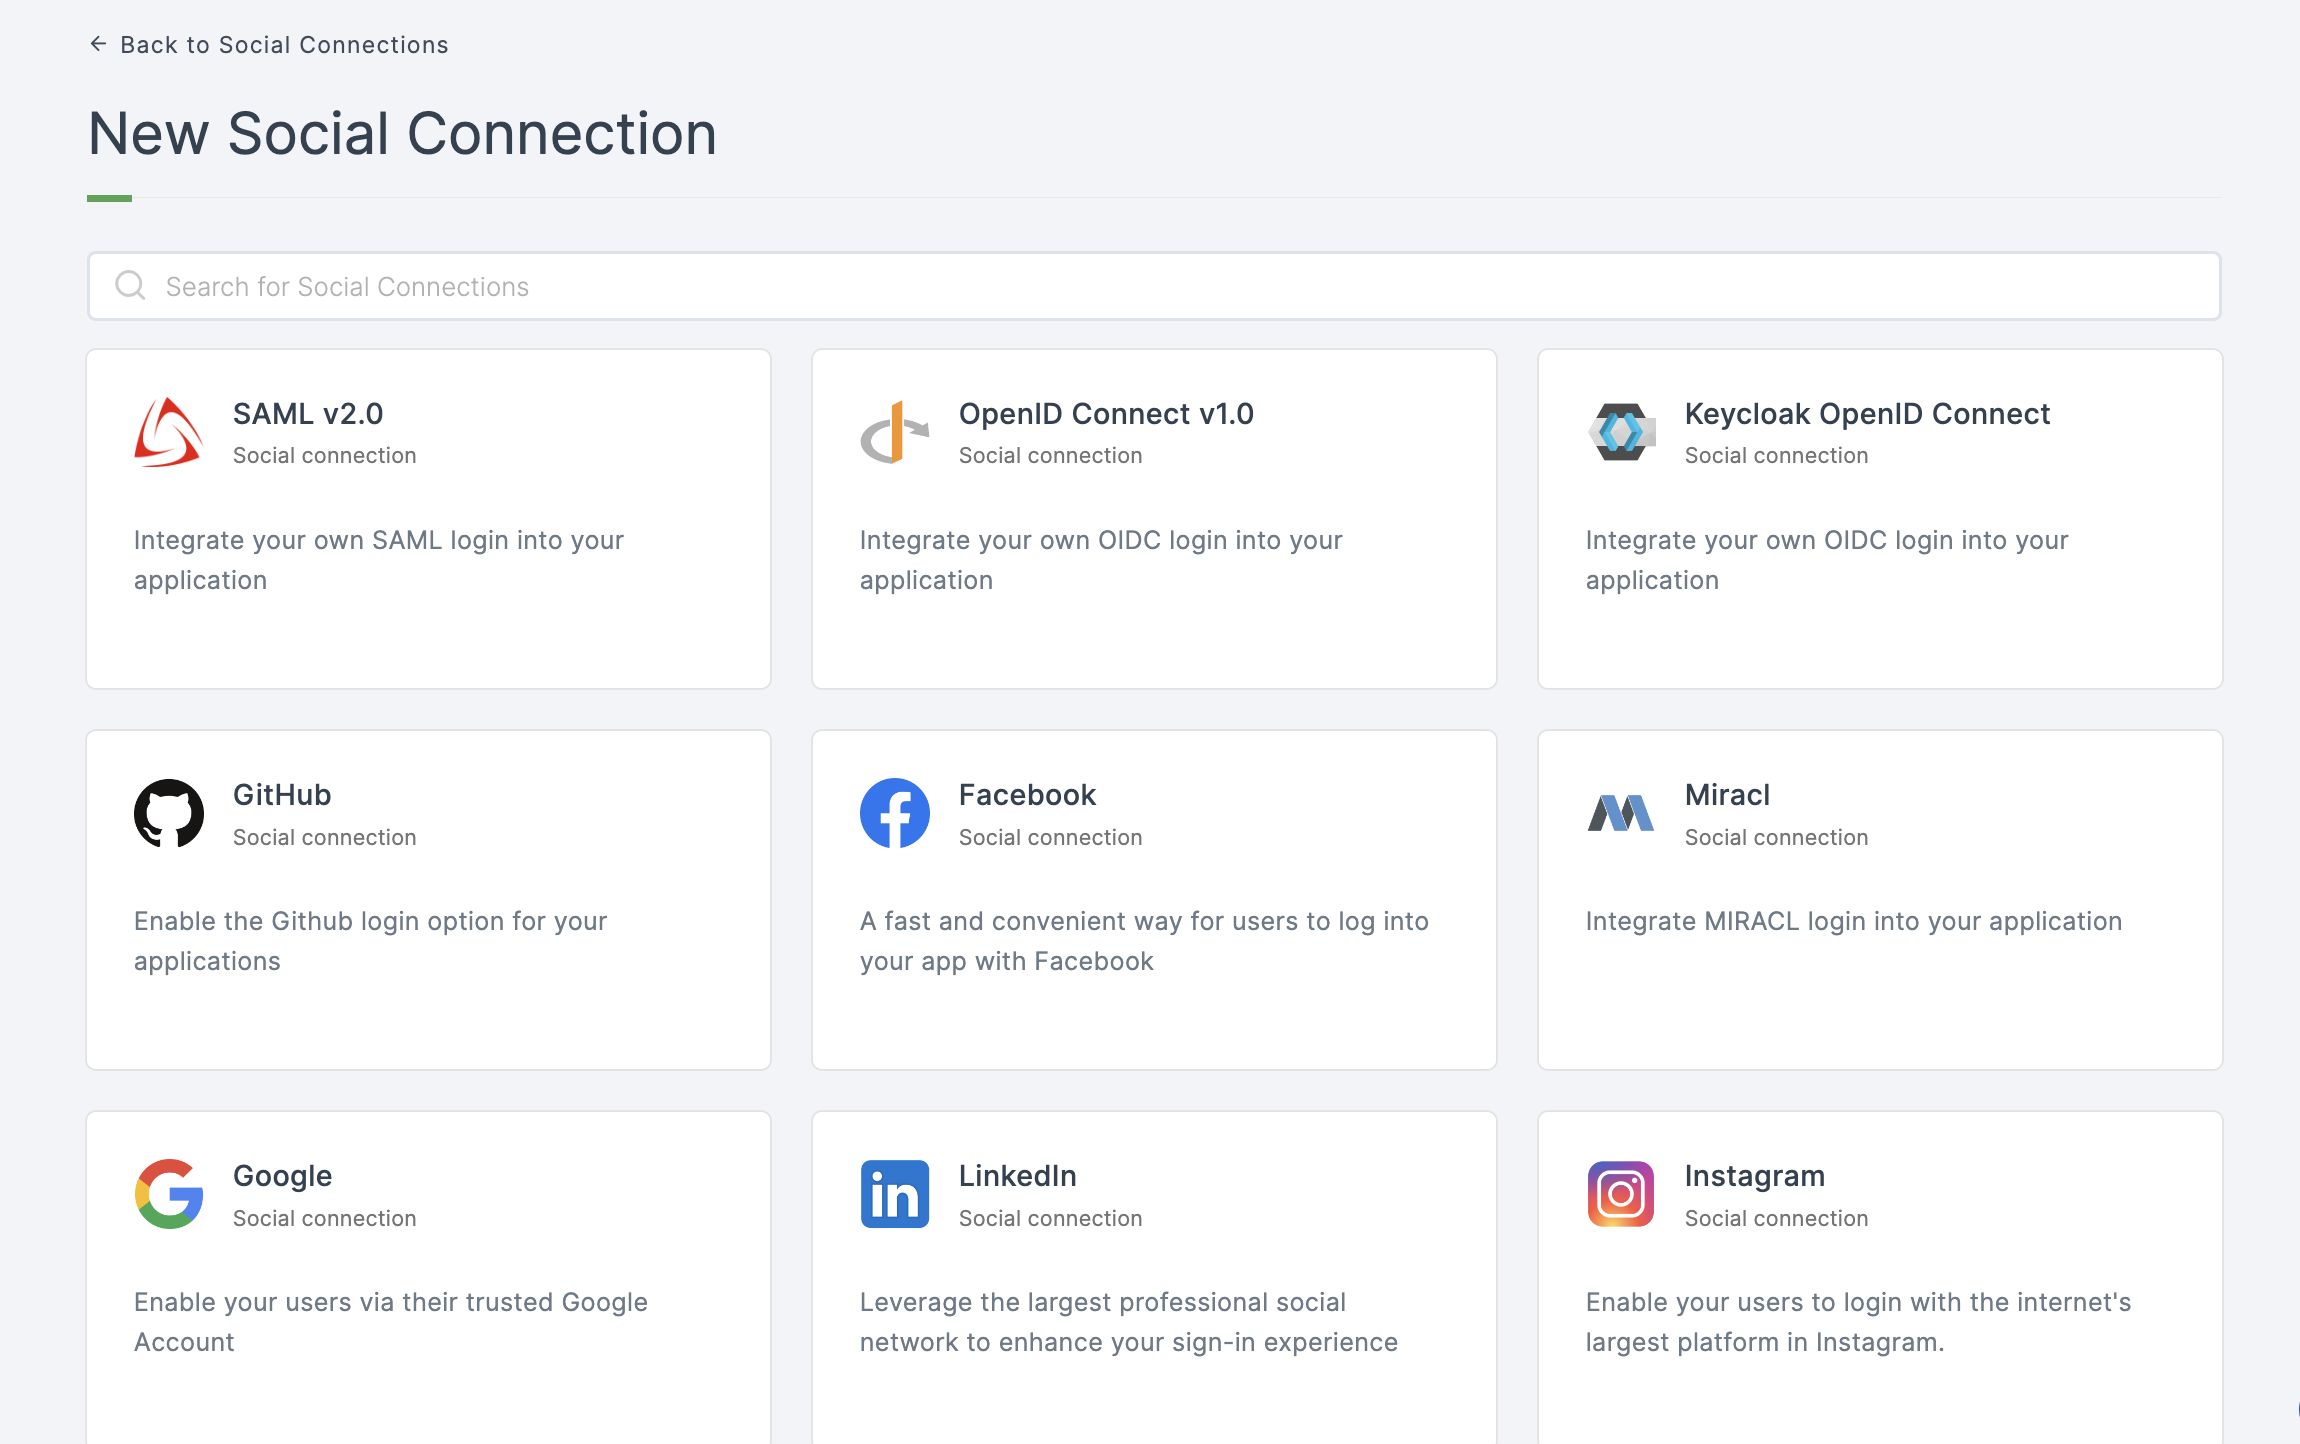
4 Click on Facebook.
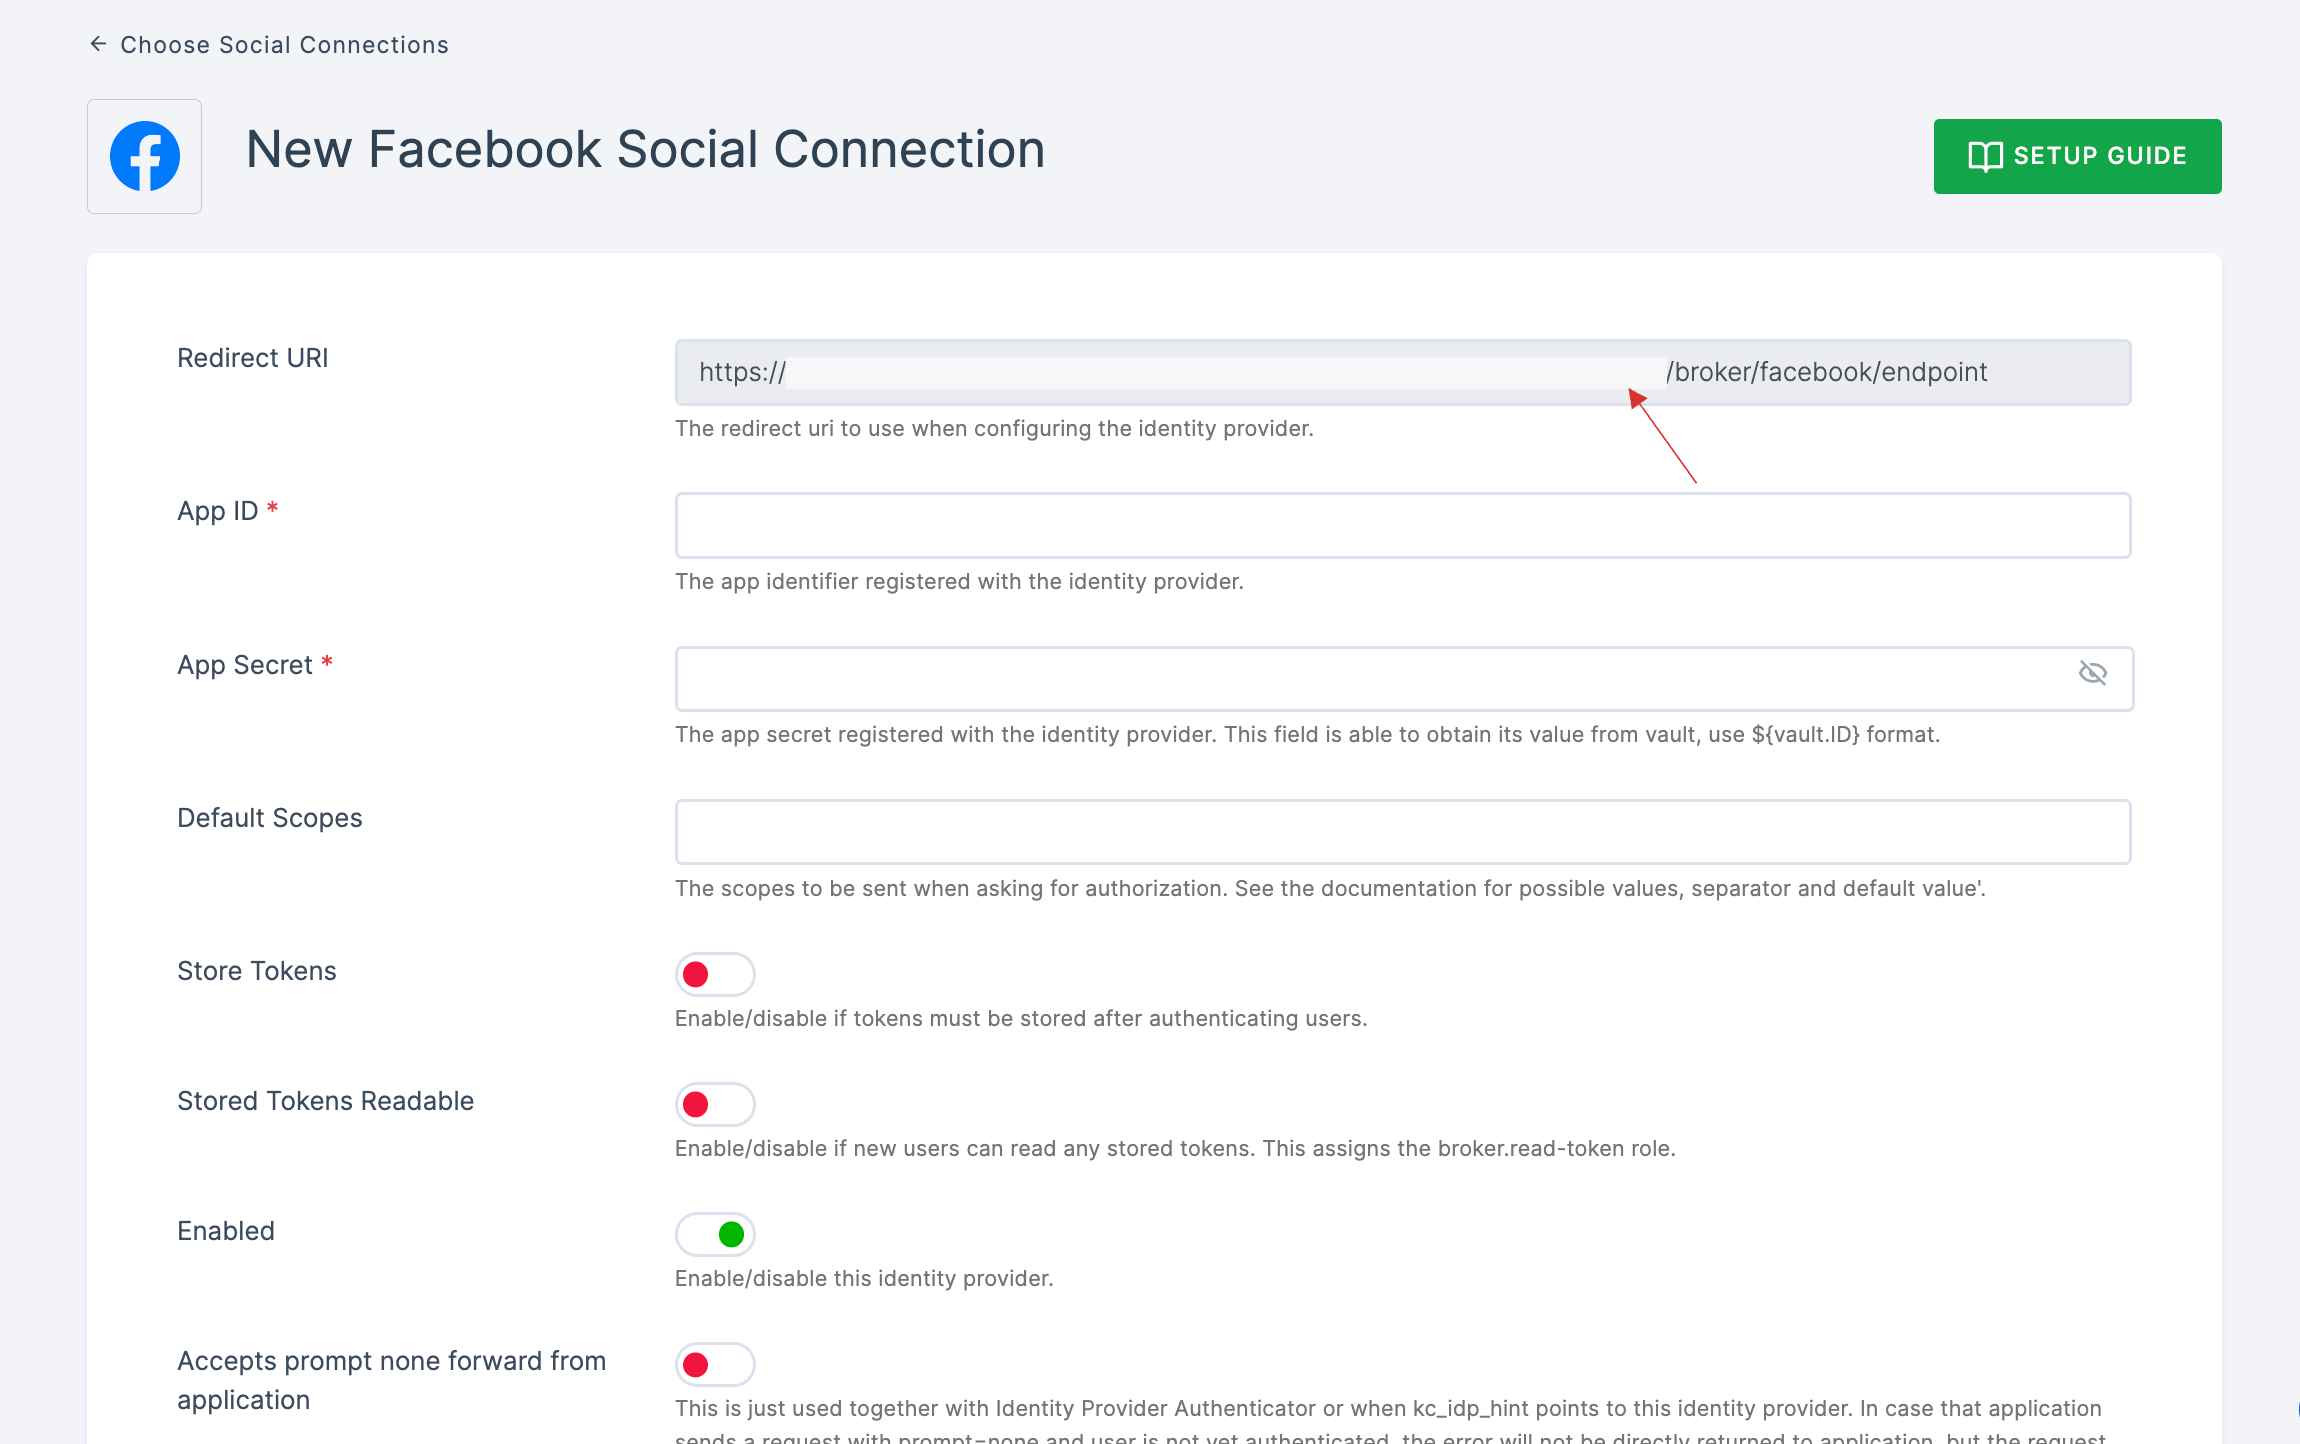
5 You will be directed to the configuration page for the chosen social connection method.

6 To enable Facebook login, you must first establish a project and client in the Facebook Developer Console.
- Copy the redirect URL for the Facebook provider from the dashboard as the first step.
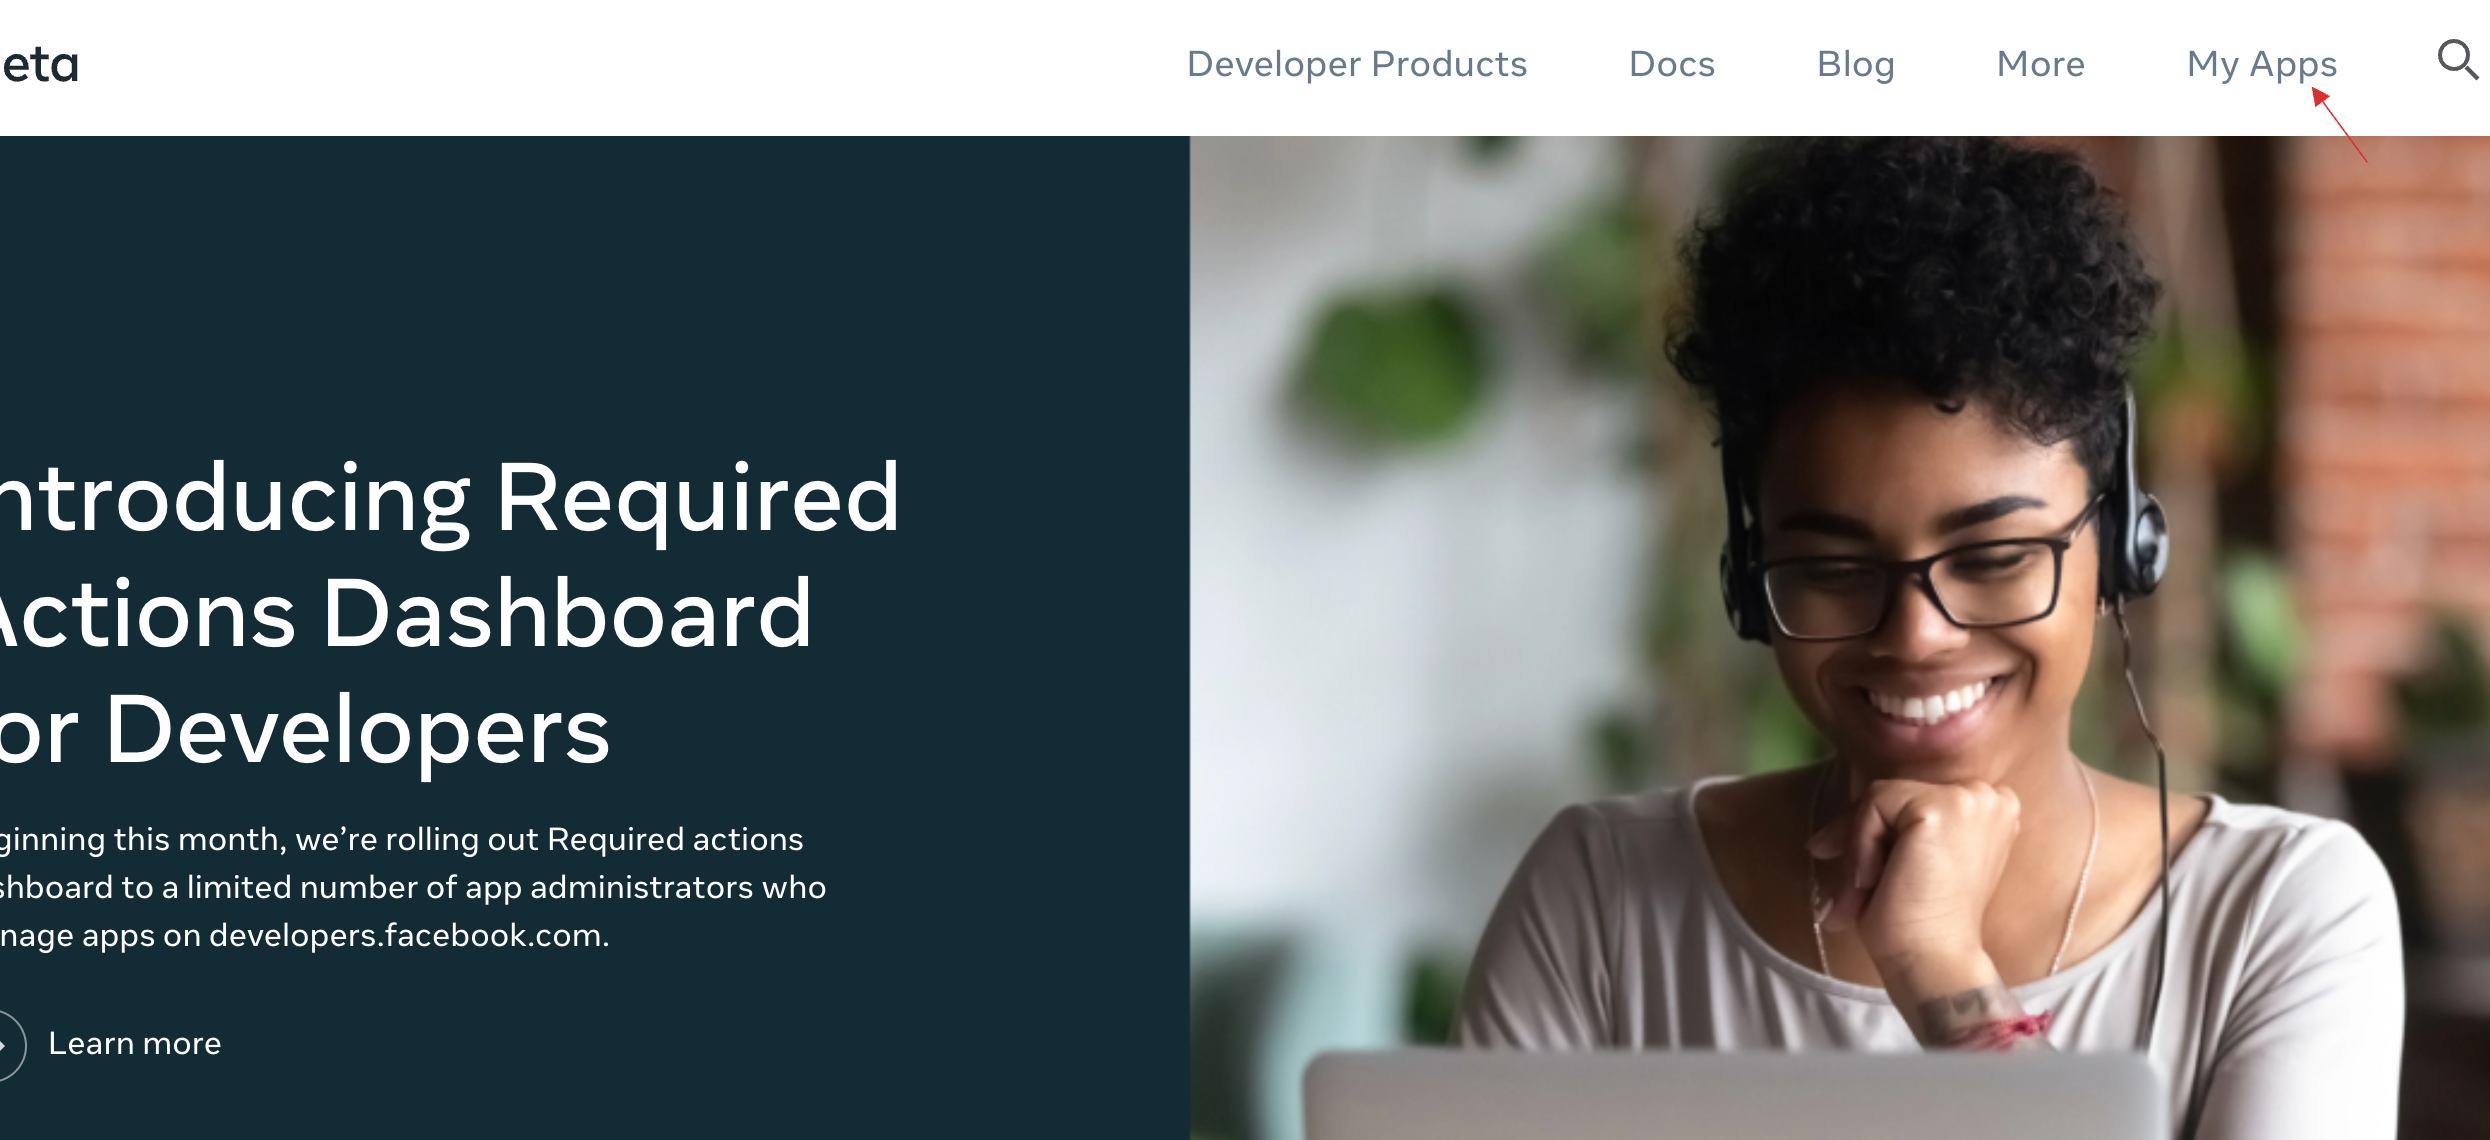
- Go to Facebook Developer Console and click on My Apps.
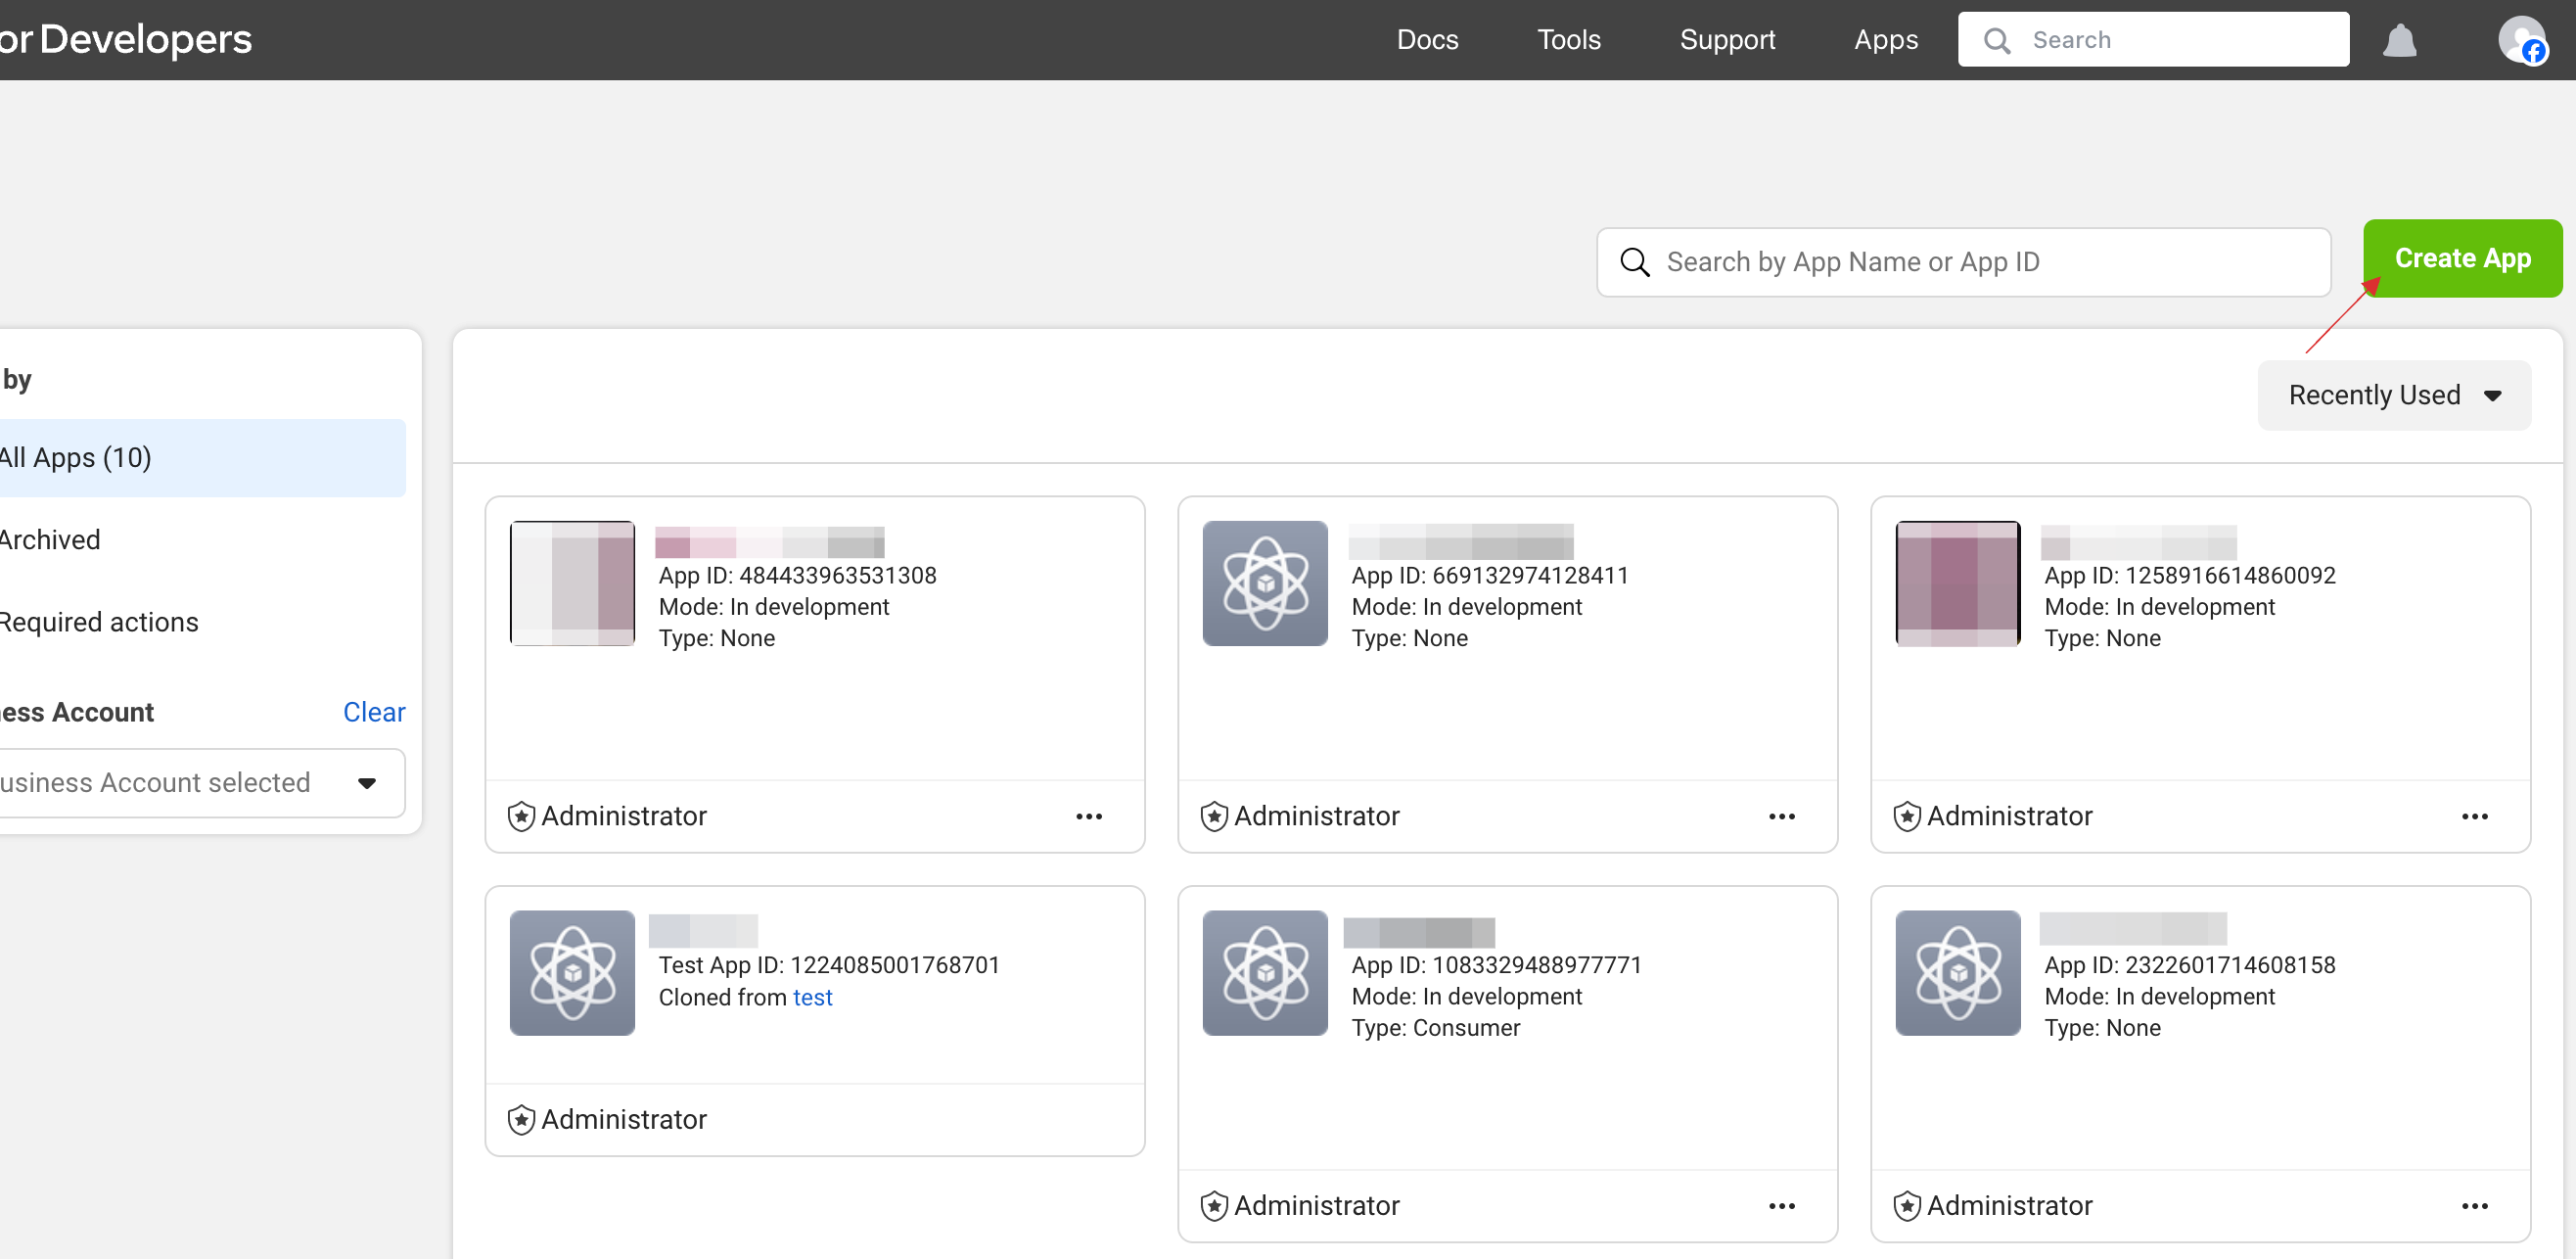
- Click on Create App.
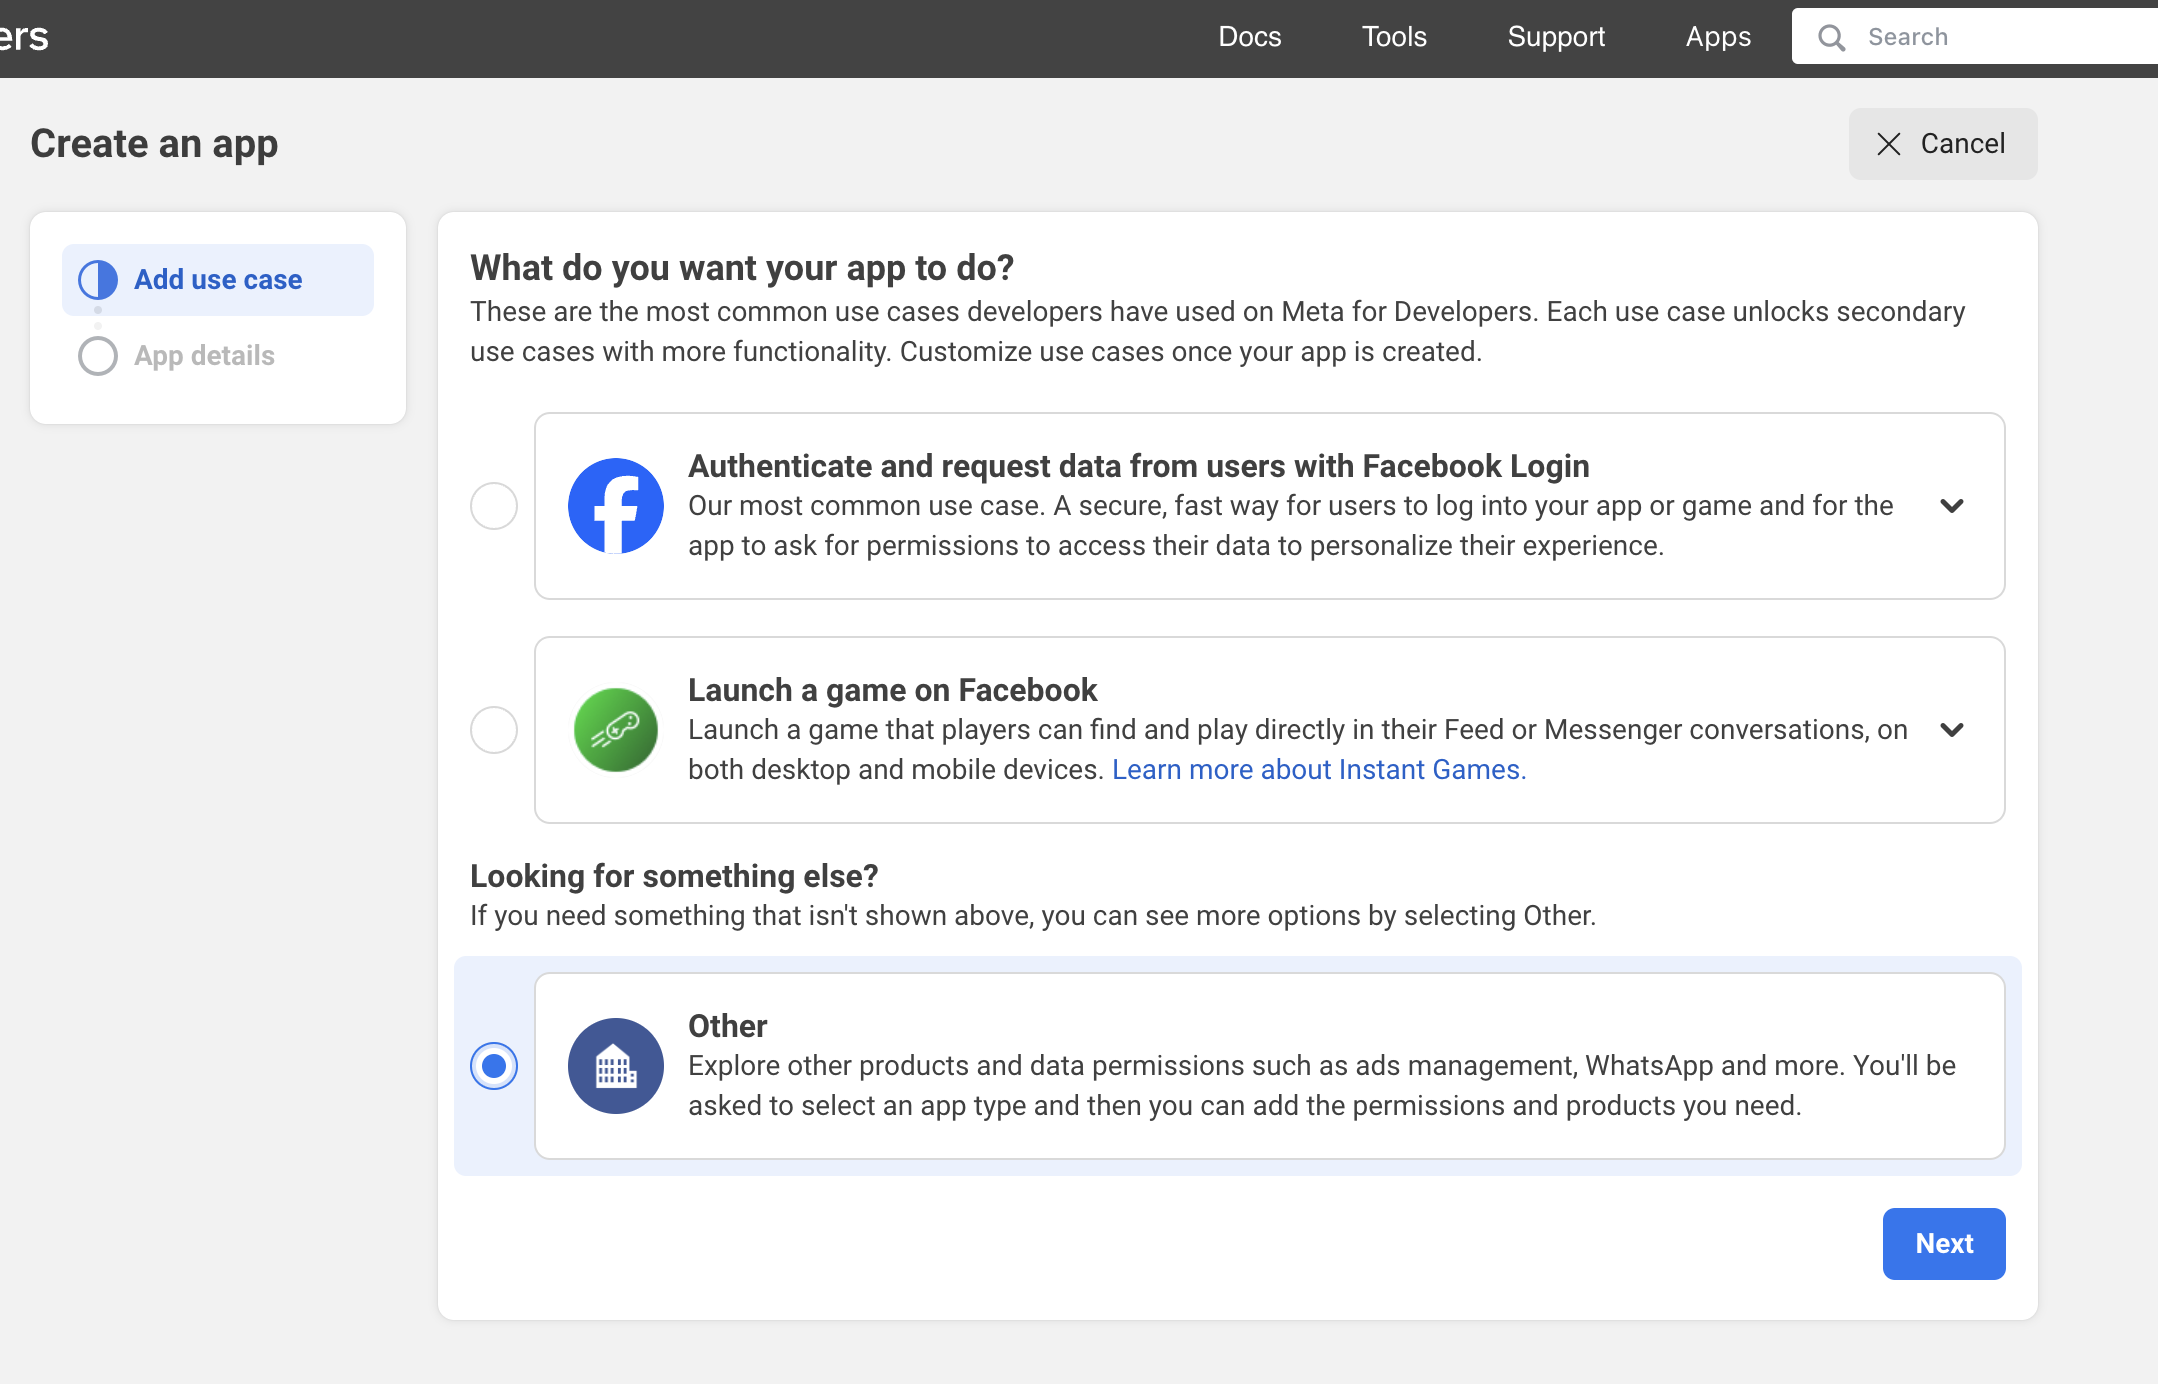
- You will be taken to the Add use case page, select the use case from the available options, click on Next.
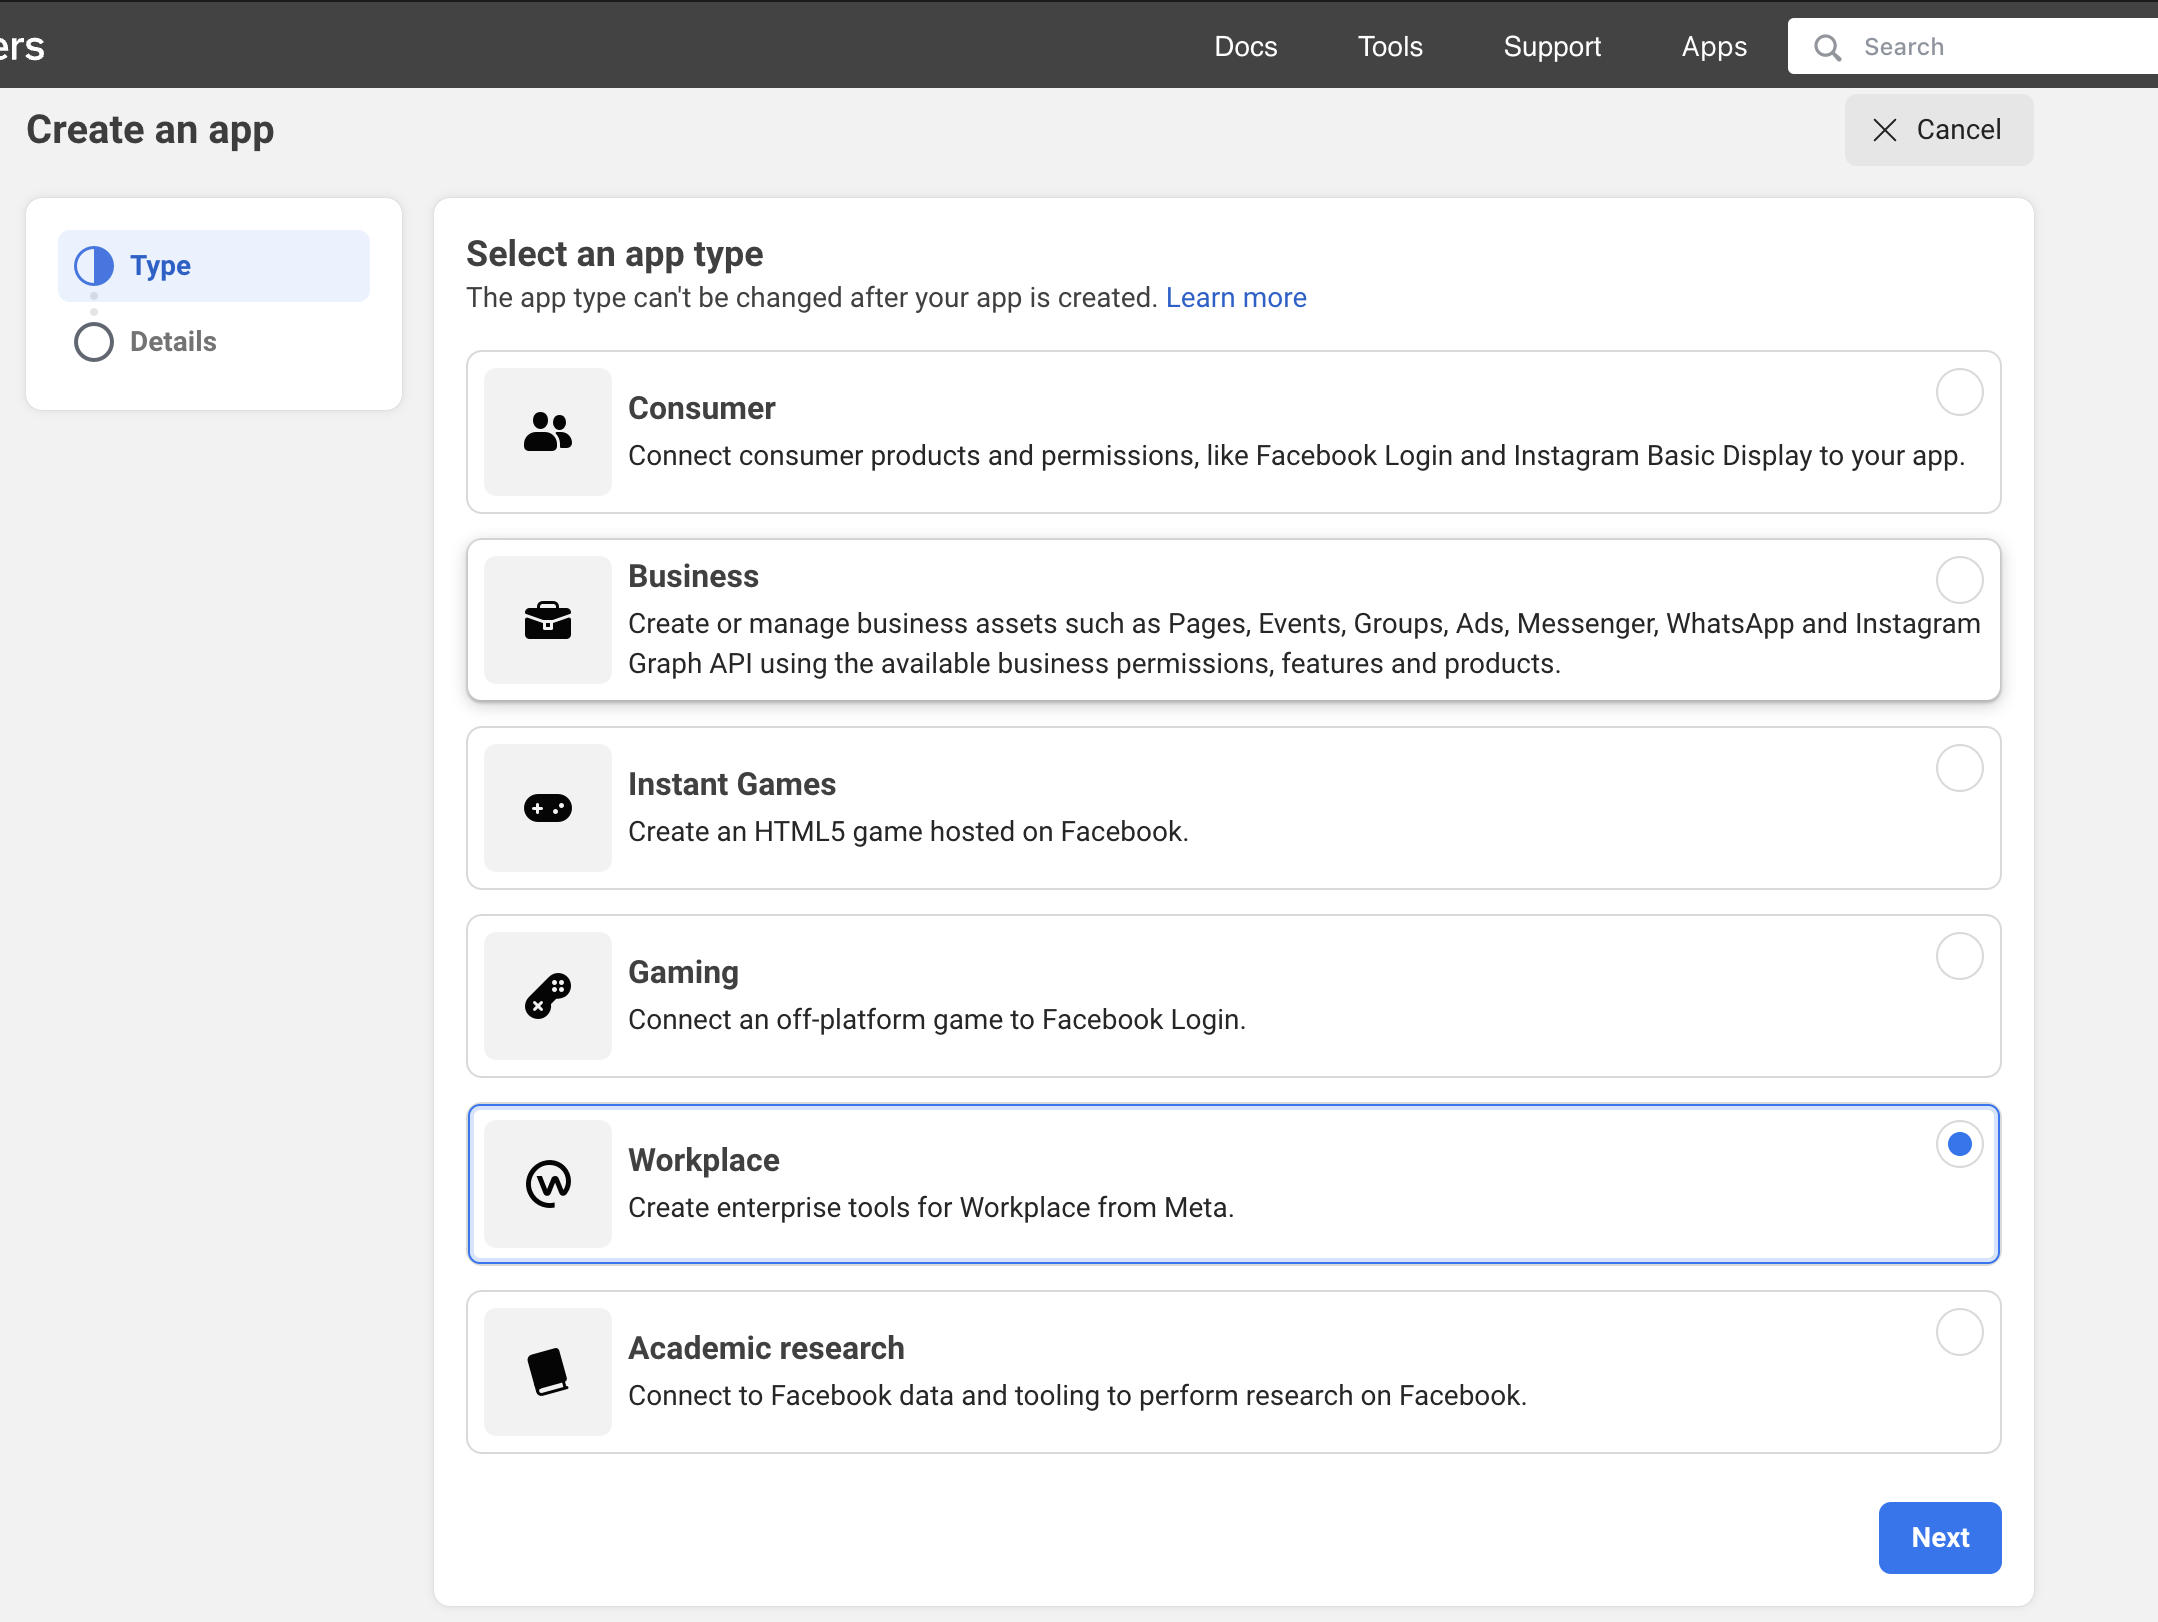
- You will be taken to the Type page, select the Type required from the available options, click on Next.
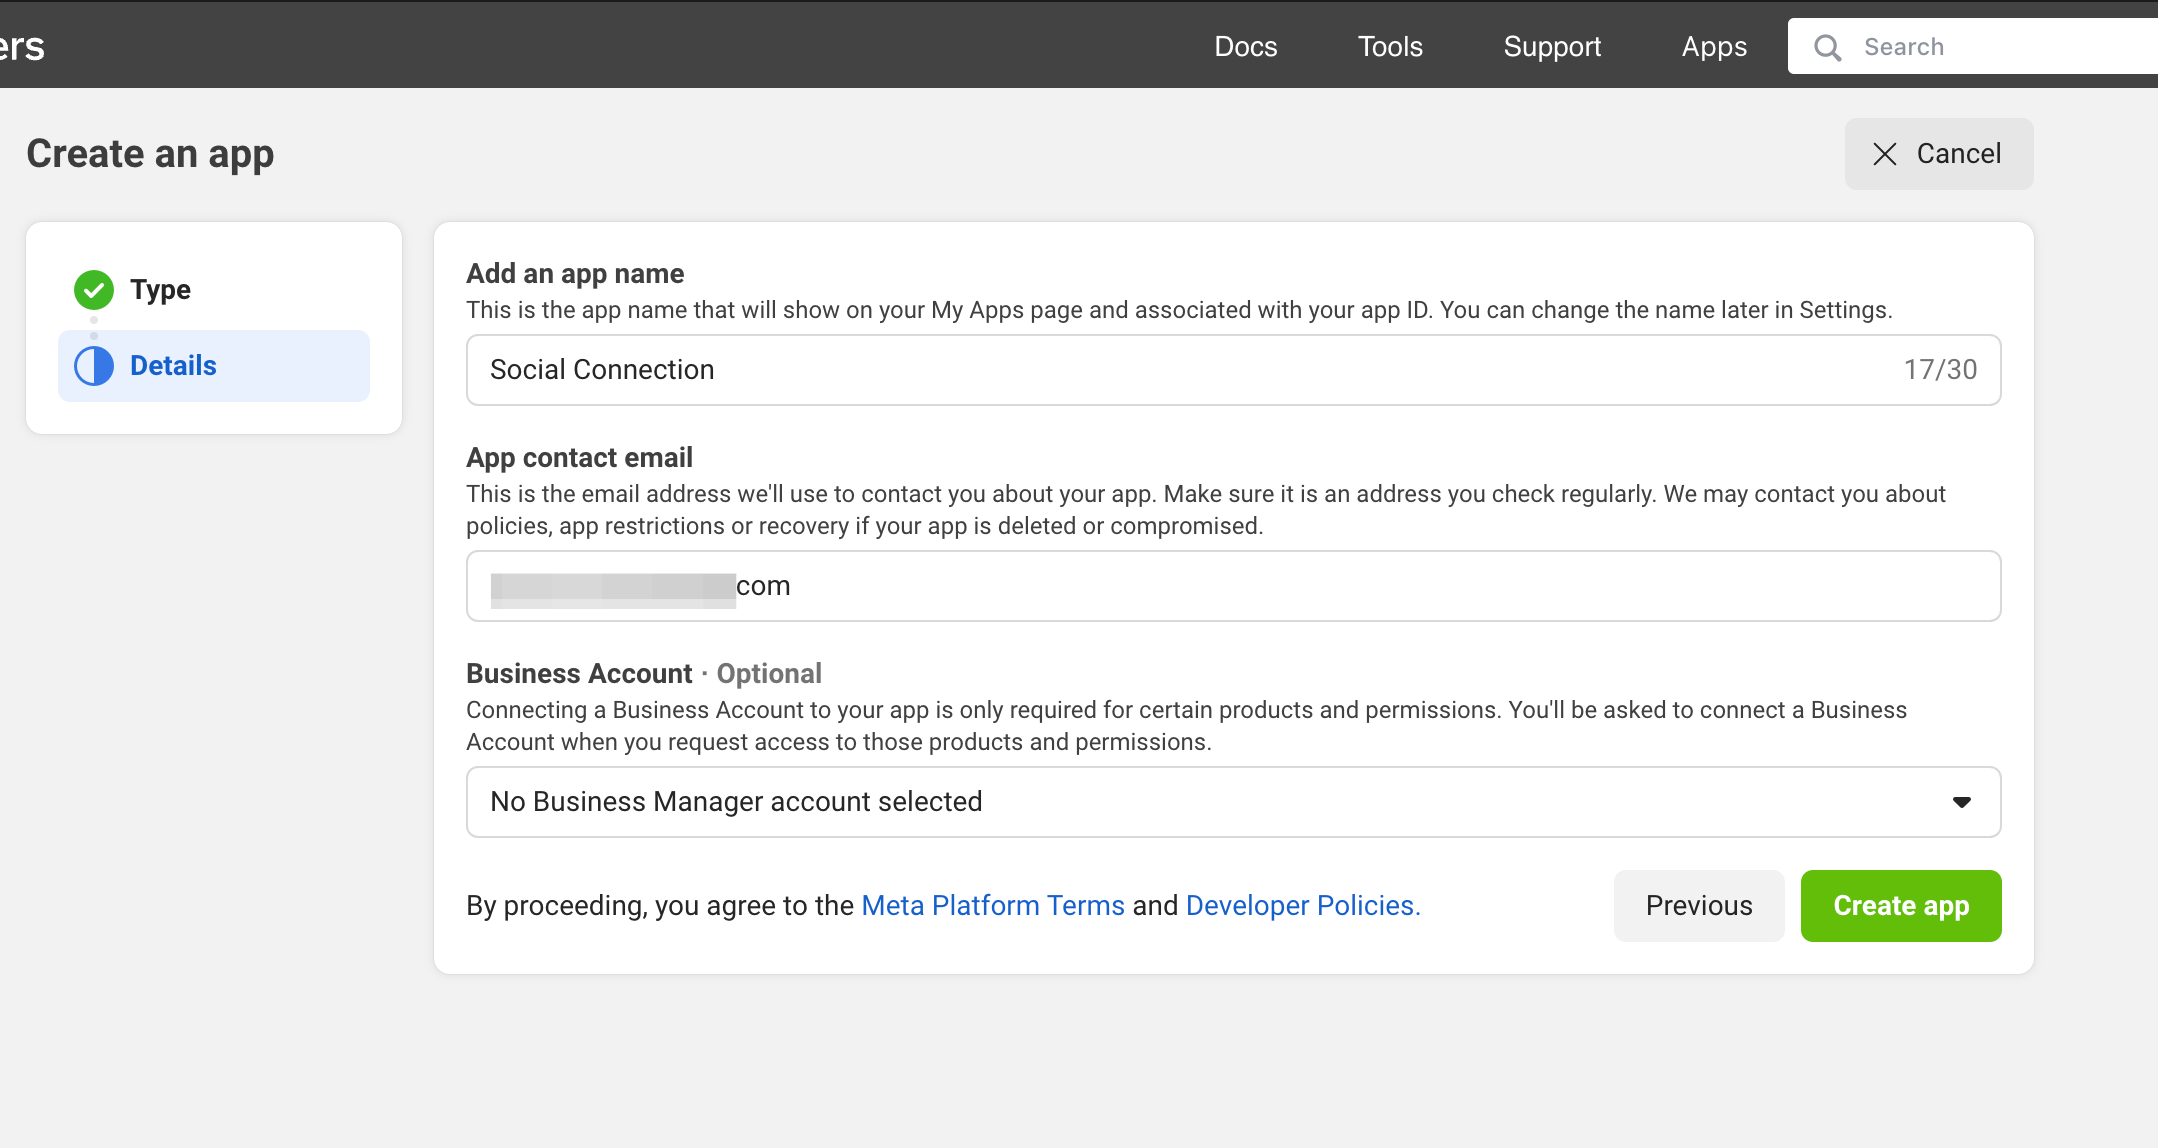
- Provide the specified details and click Create app.
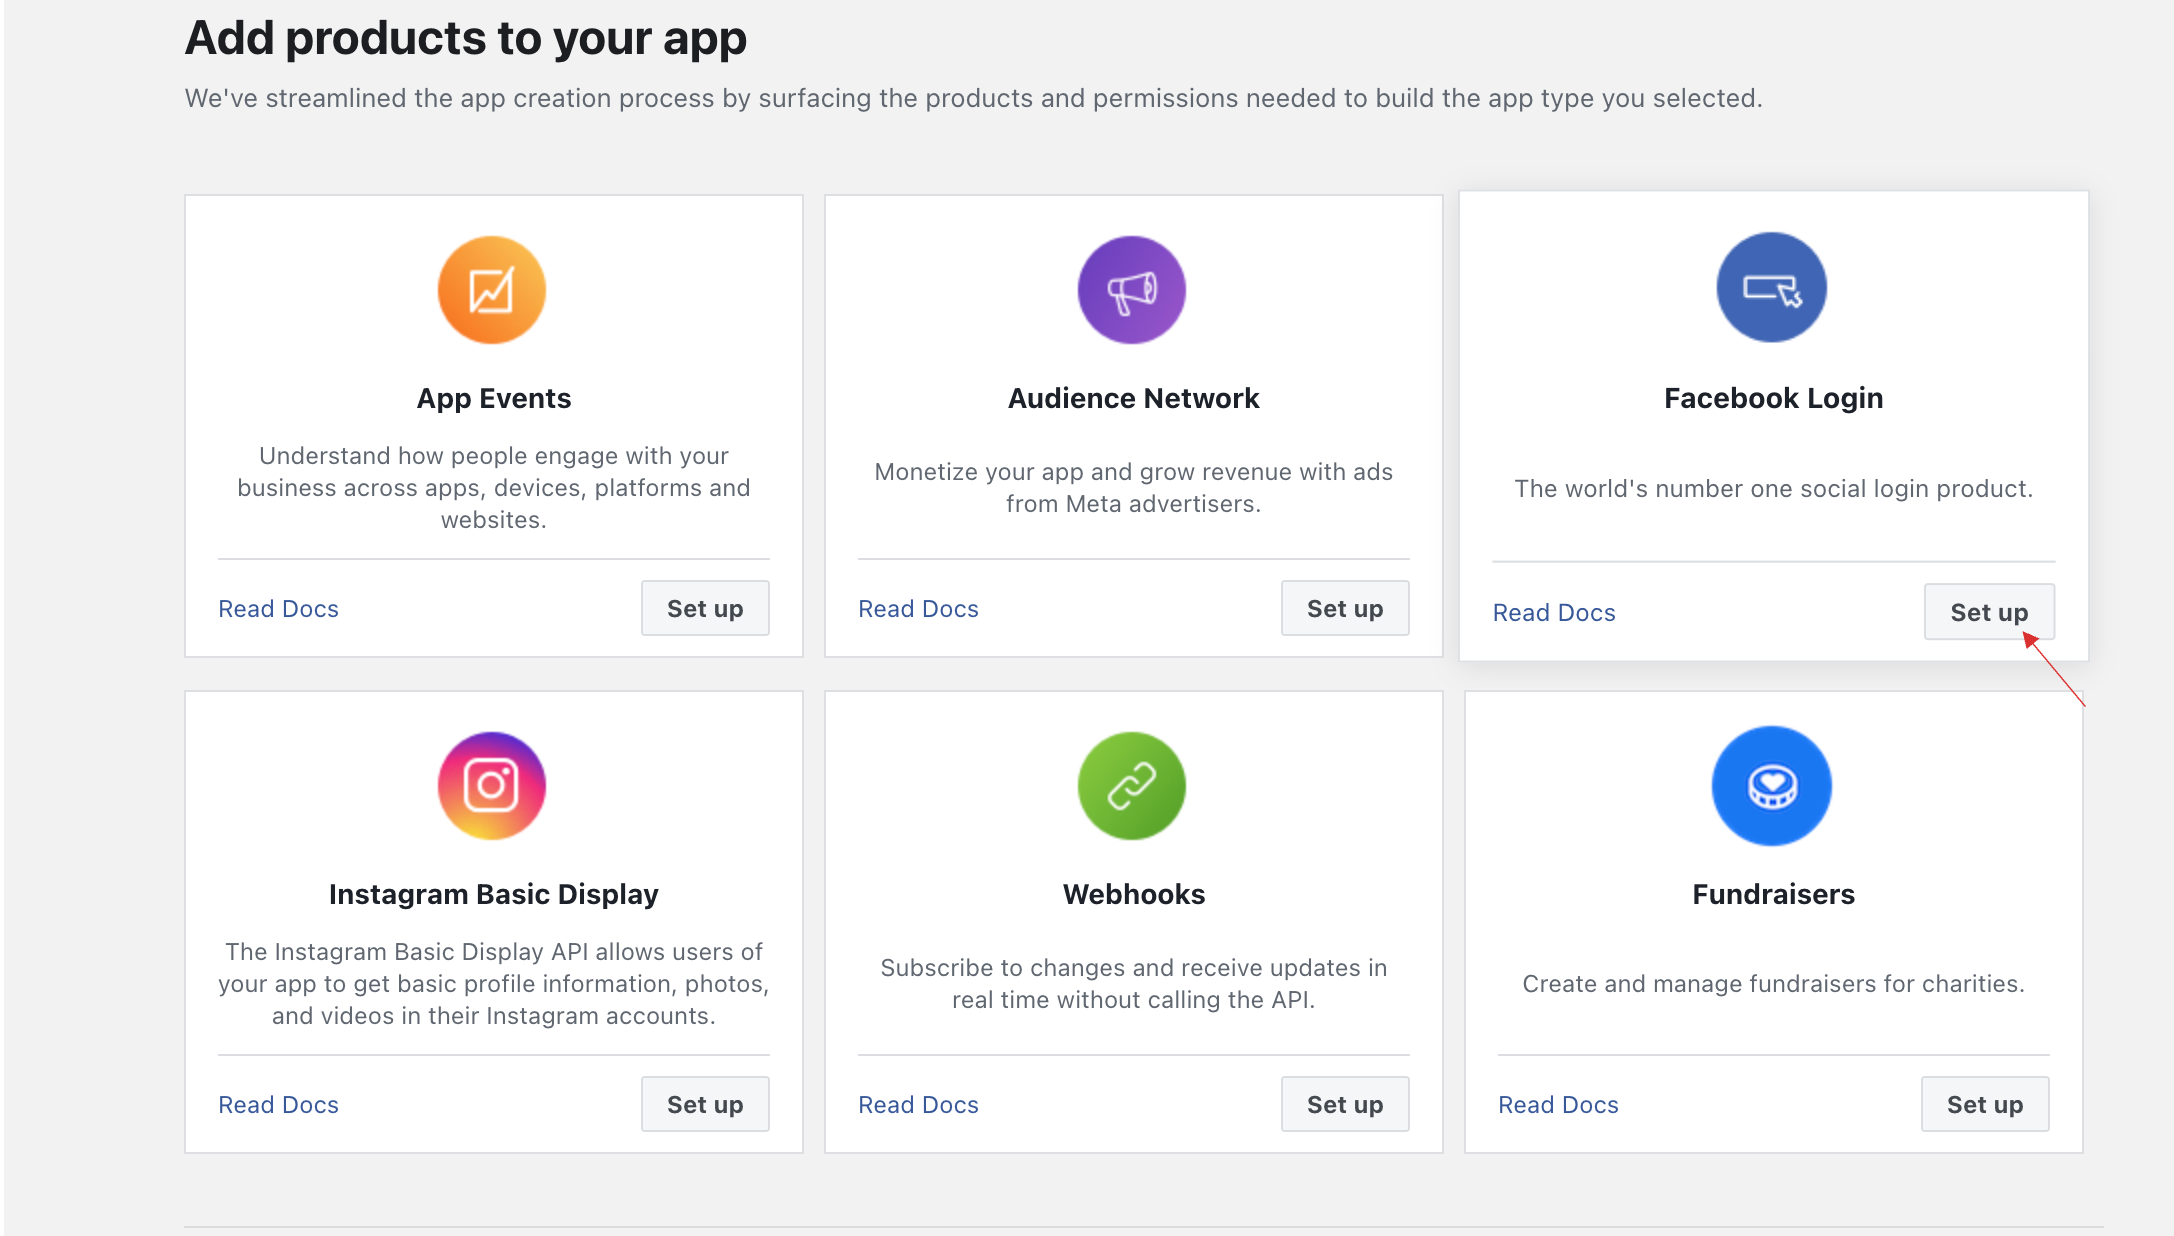
The application will be created and you will directed to the application's dashboard.
Scroll down, click on Set up for Facebook login.
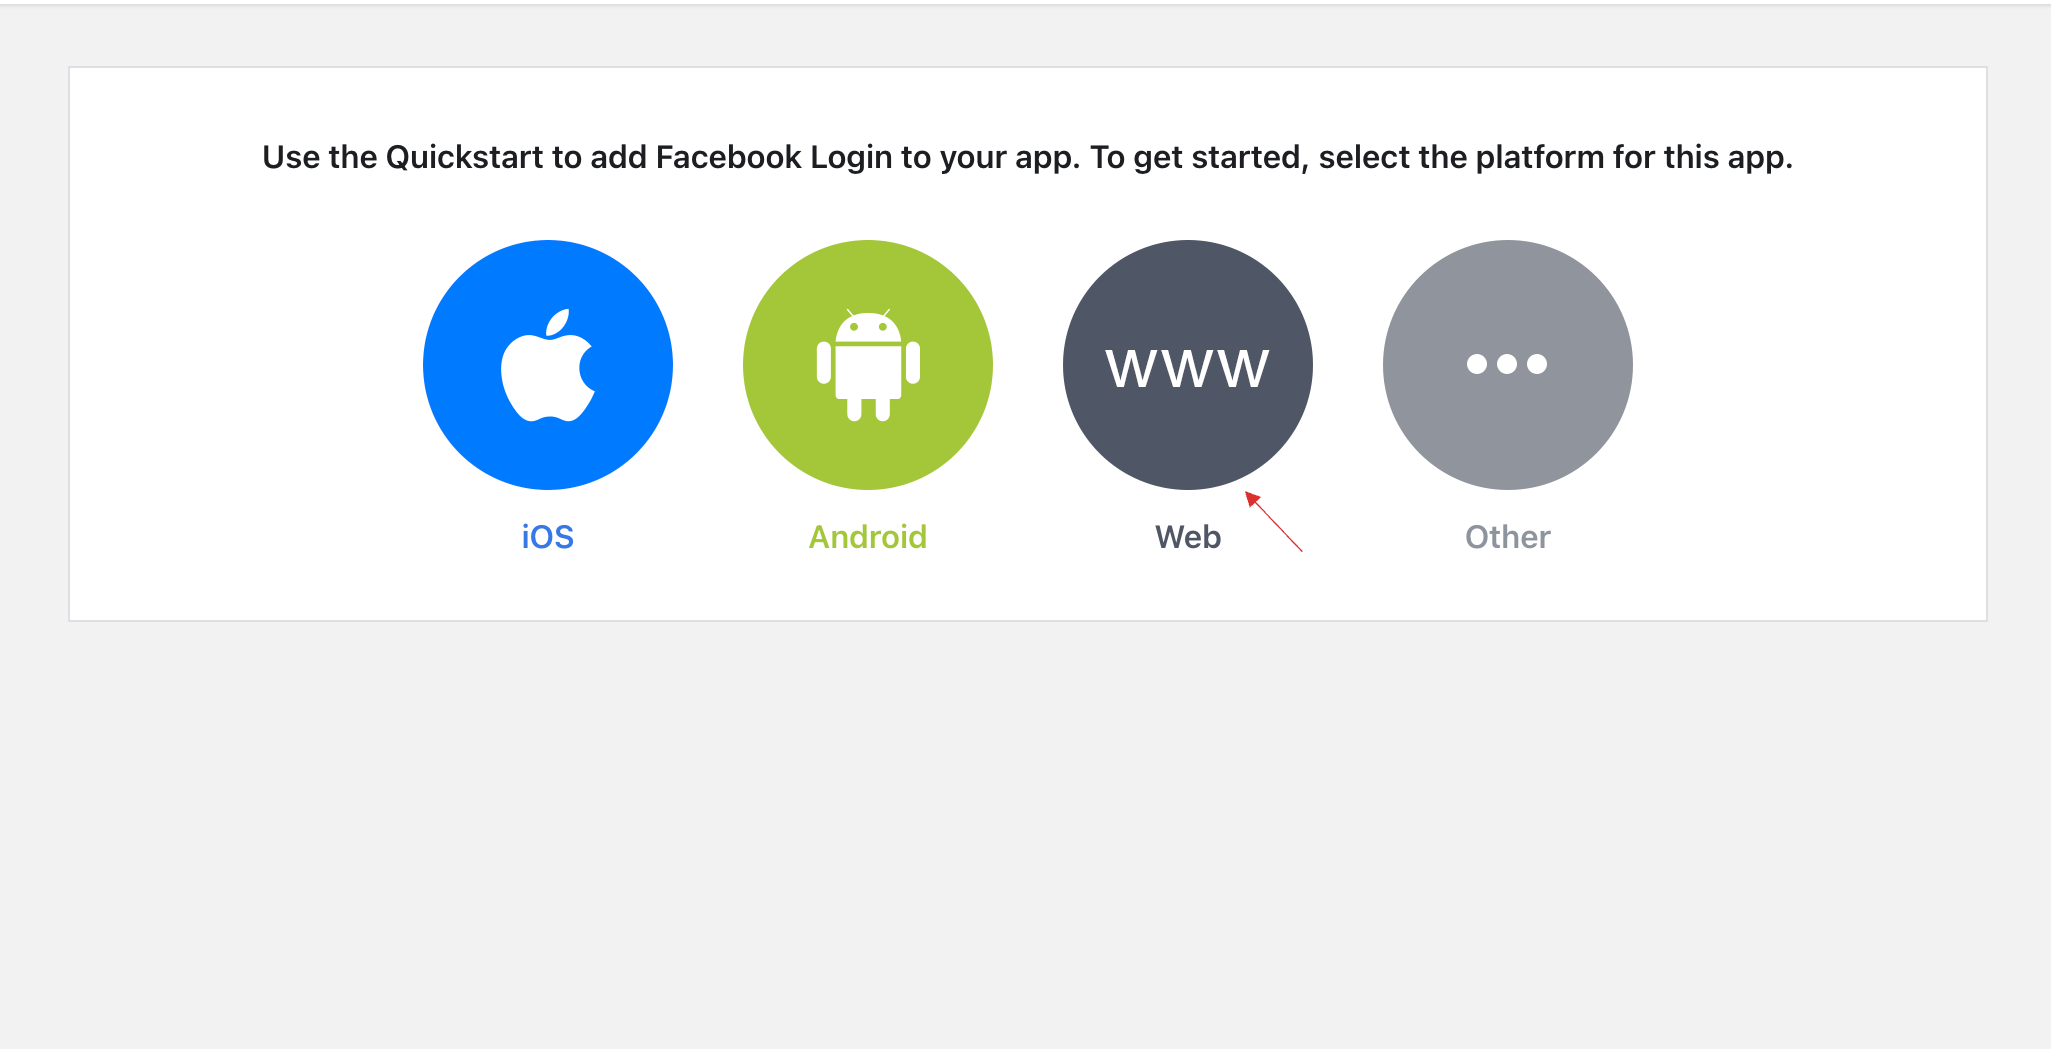
- Click on Web.
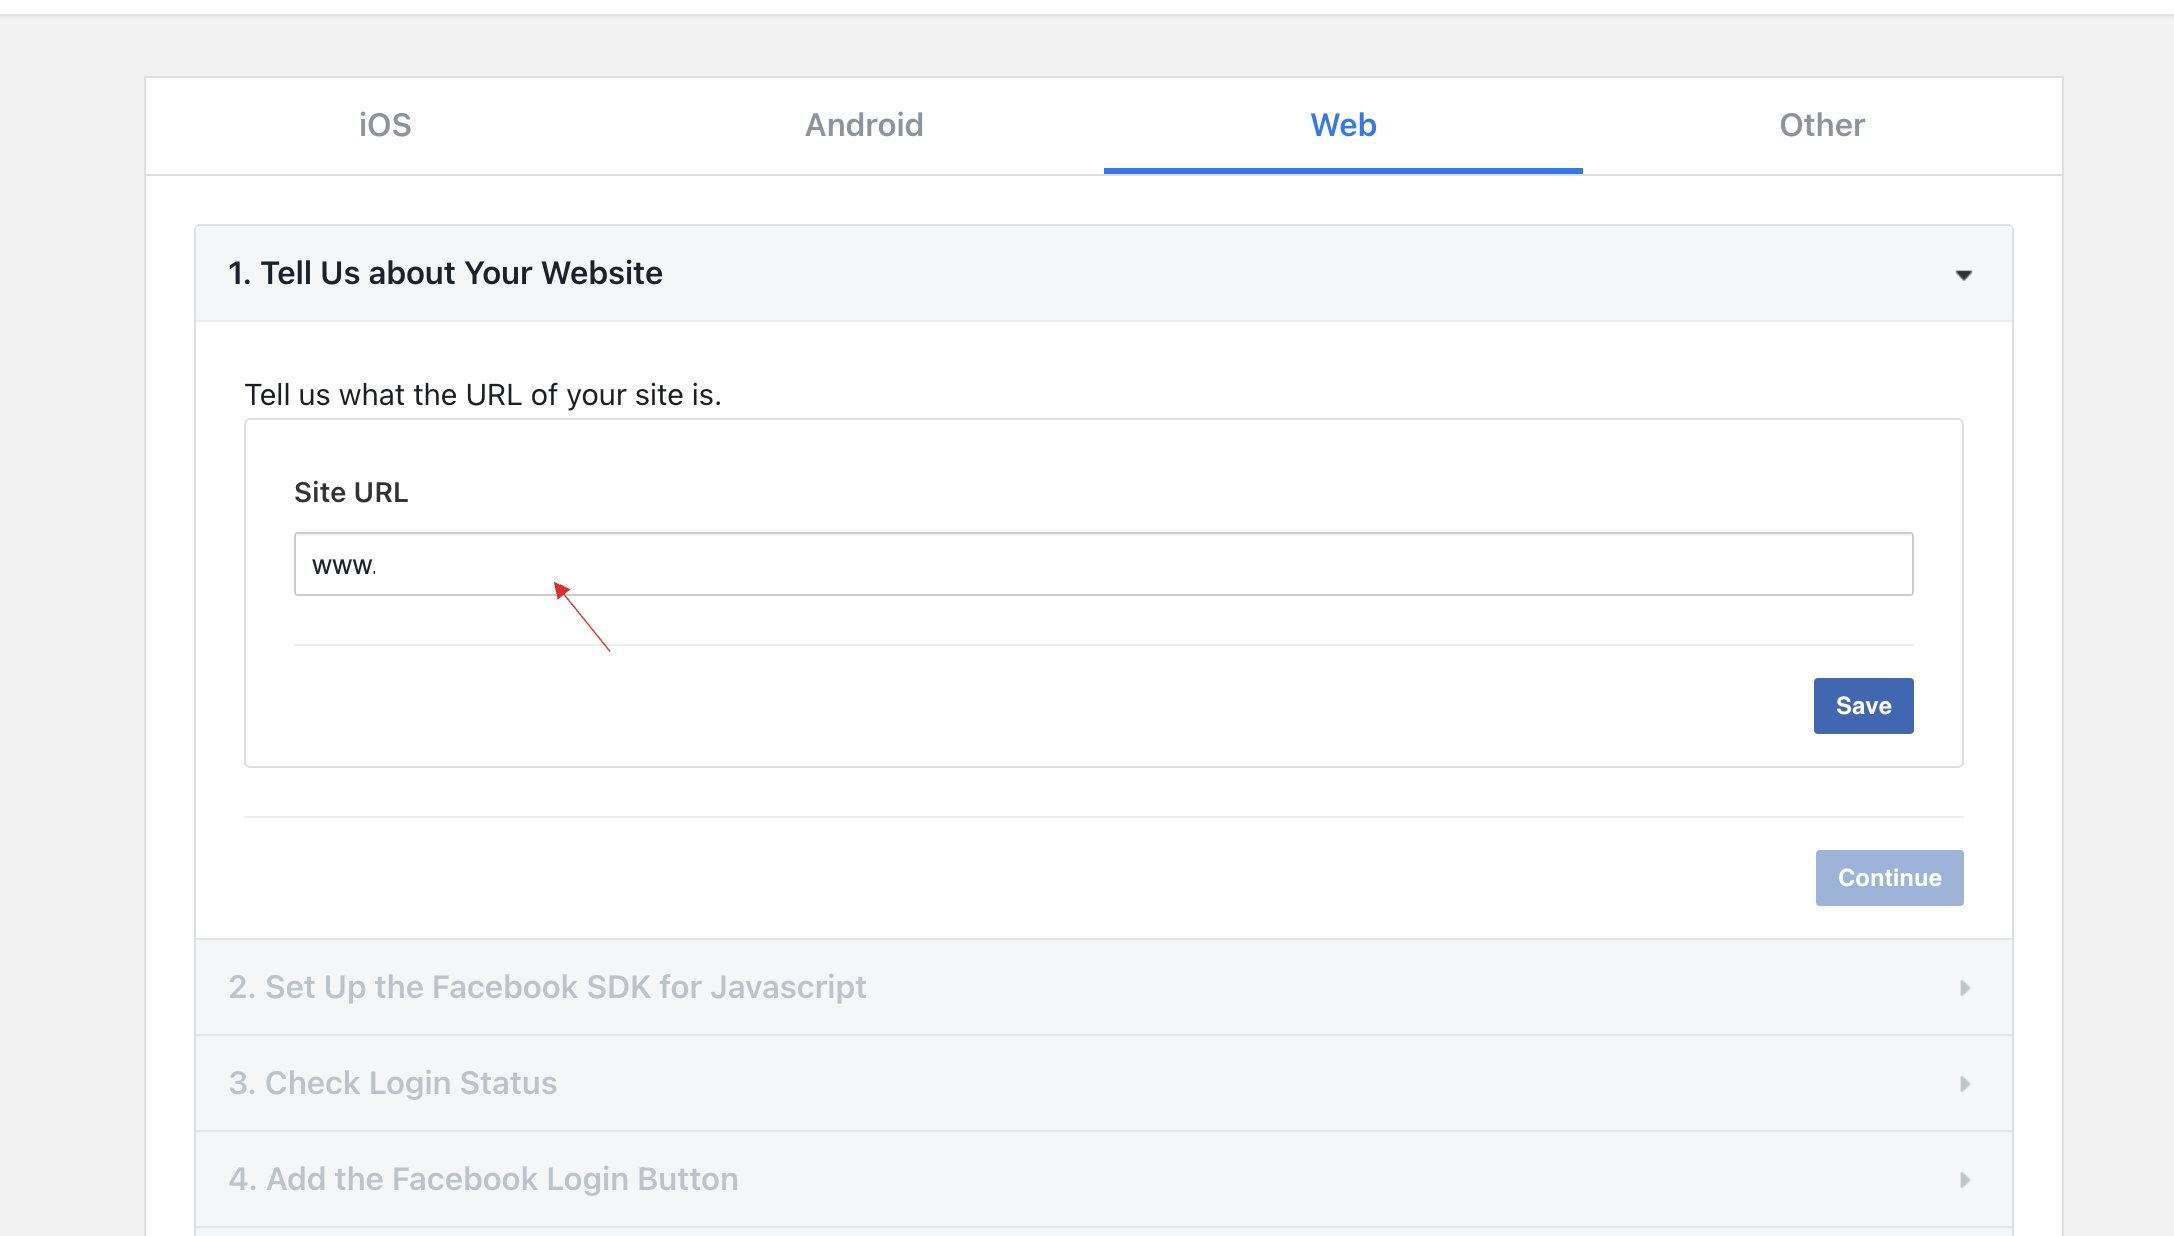
- Provide your Site URL, click on Save.
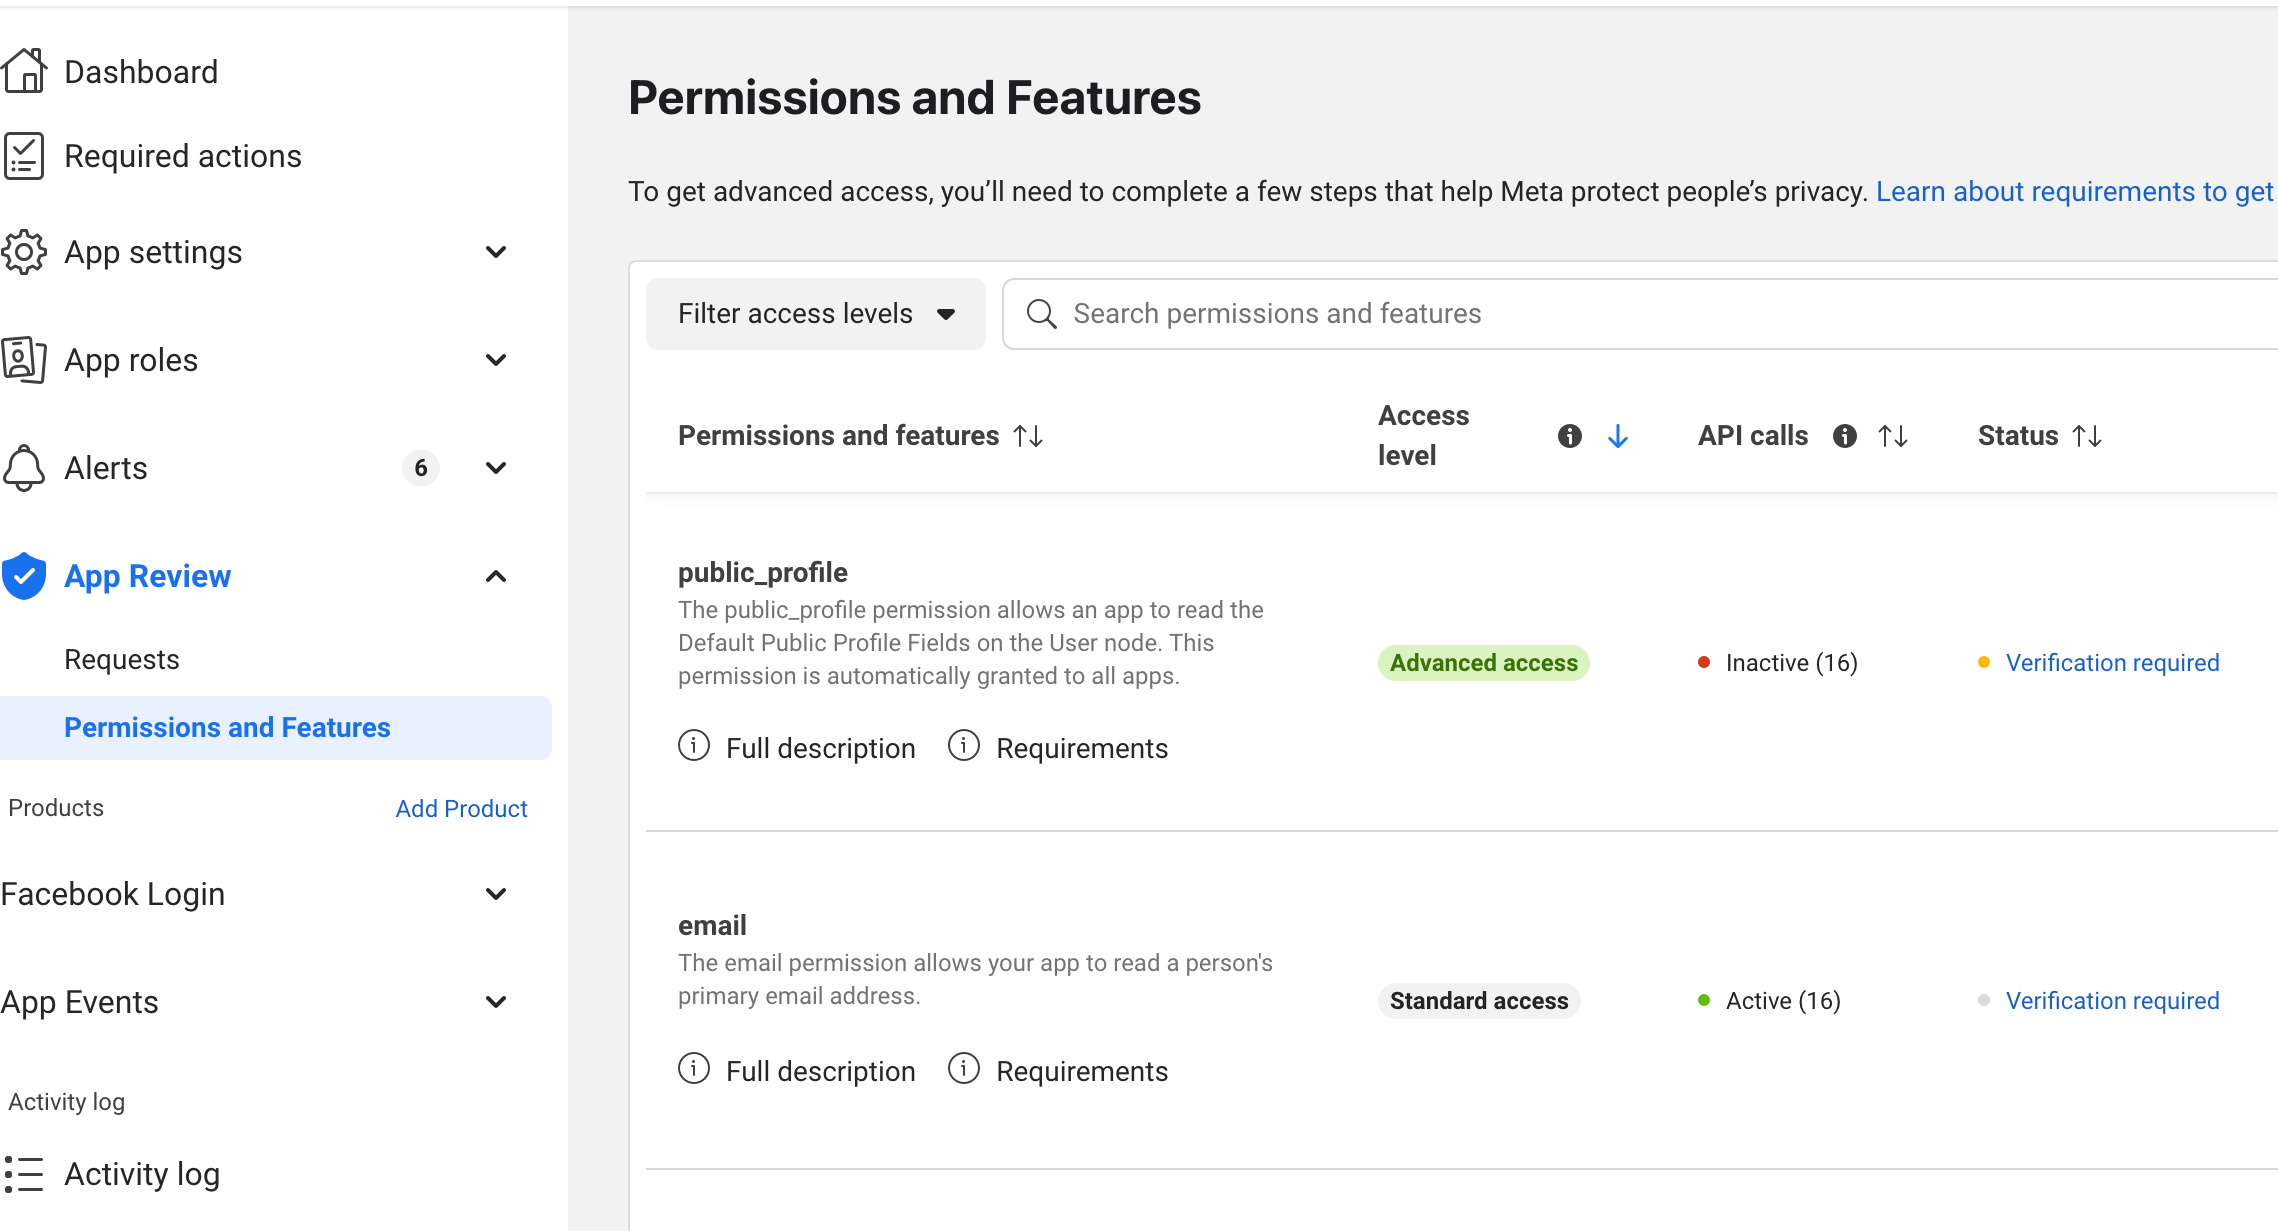
- The Facebook app must be made public, To do so, click on App Review > Permissions and Features > For public_profile set access level as Advanced Access.
From the left side menu, click on Facebook Login > Settings.
Locate the
Valid OAuth Redirect URIsand the paste the copied Redirect URL from your dashboard.
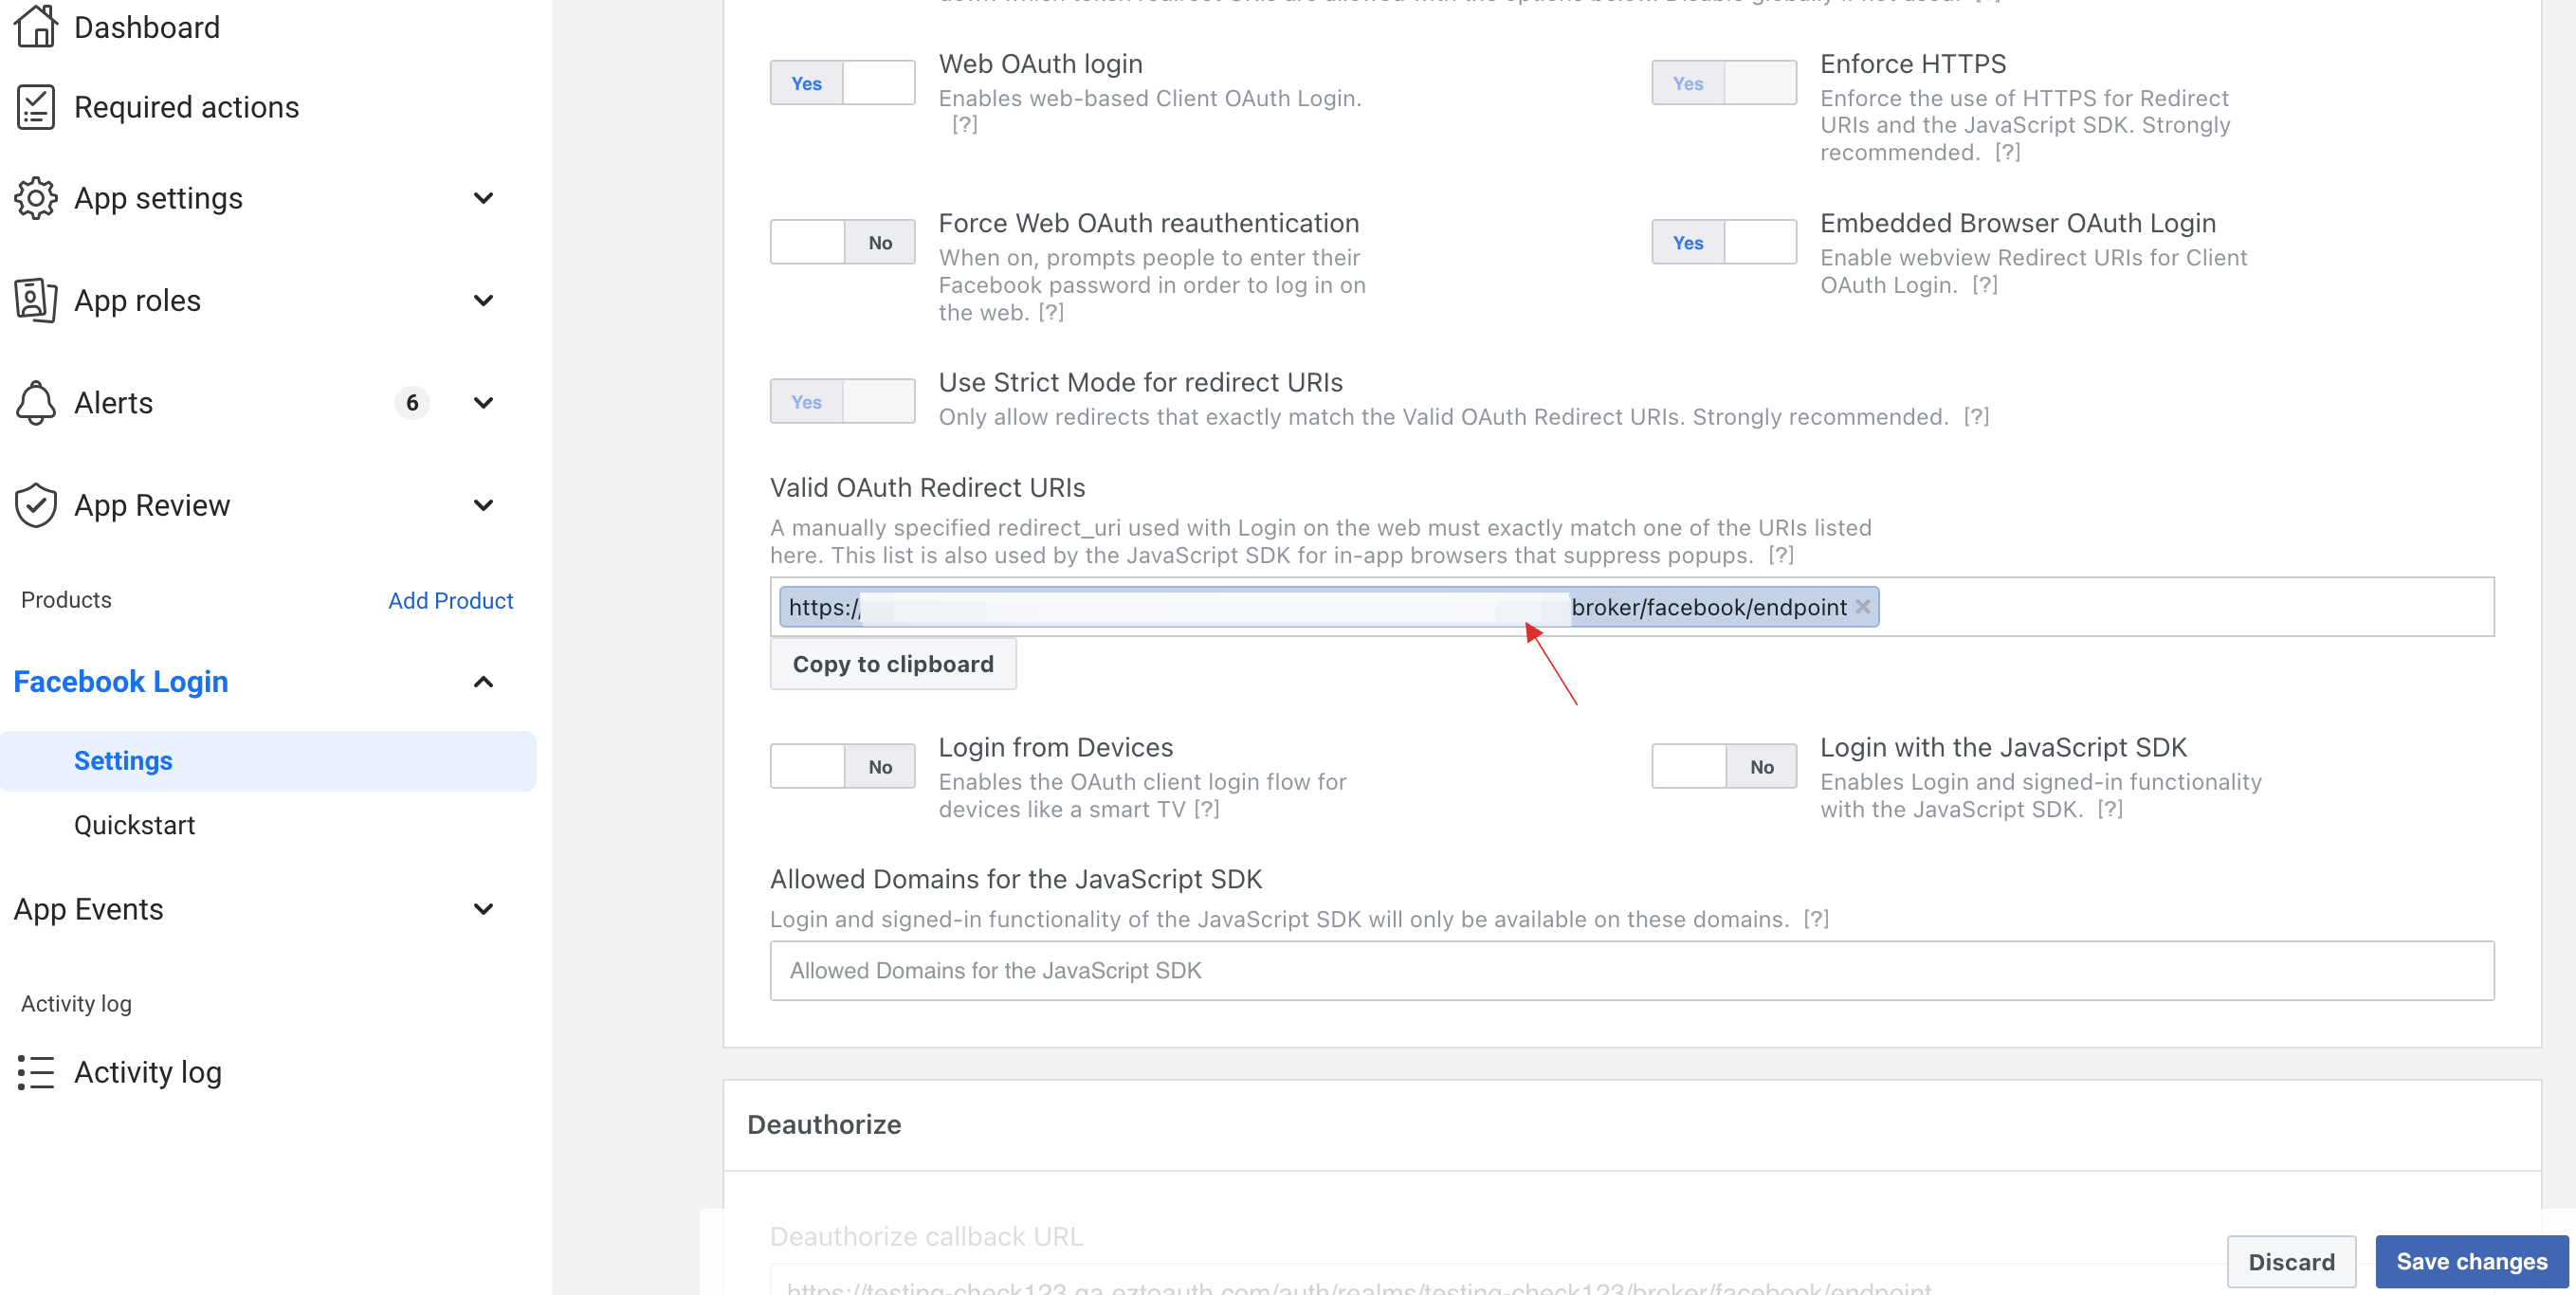
Click on Save changes.
Go to App settings and click on Basics, copy the generated App ID and App Secret.

7 Return to your dashboard, paste the App ID and App Secret.
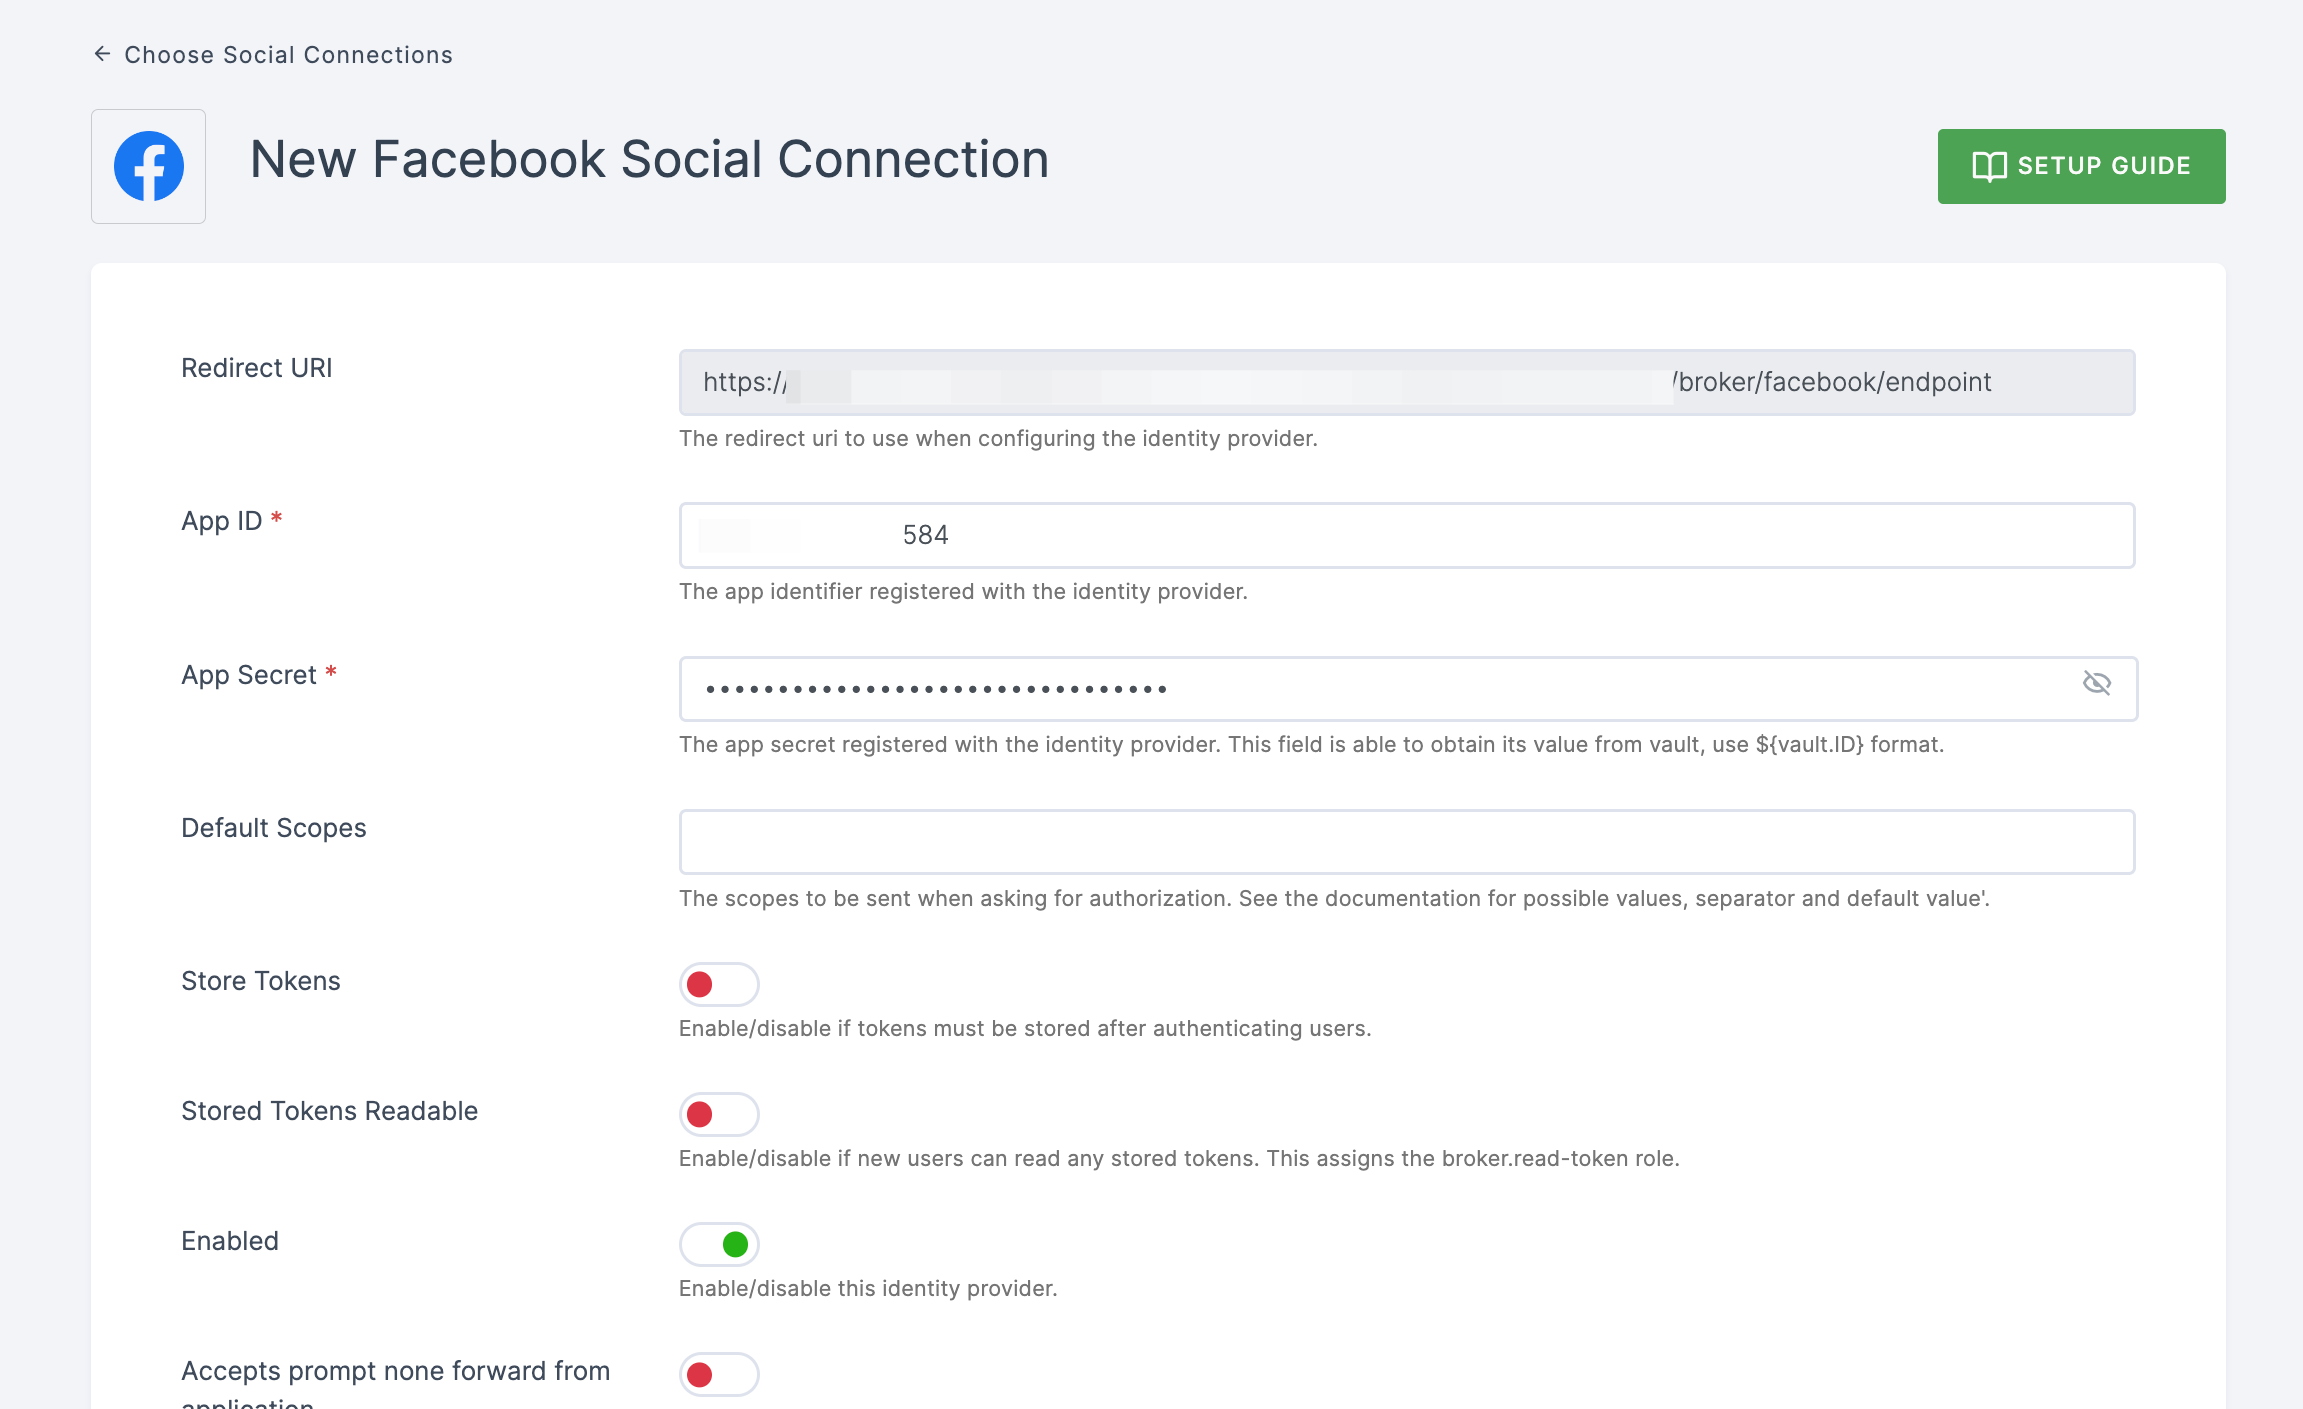
8 Configure the other required specification, click on SAVE.
By default, the dashboard sends a profile request to graph.facebook.com/me
Fields = id, name, email,first name, last name, and the answer only includes the fields requested.
If you wish to get more fields from a Facebook profile (for example, birthdate), create a matching scope and provide the field name in the Additional user's profile fields configuration option field.
The Facebook GraphQL API Explorer can help you figure out what field names are accessible and what scopes they belong to.